

June 7, 2021
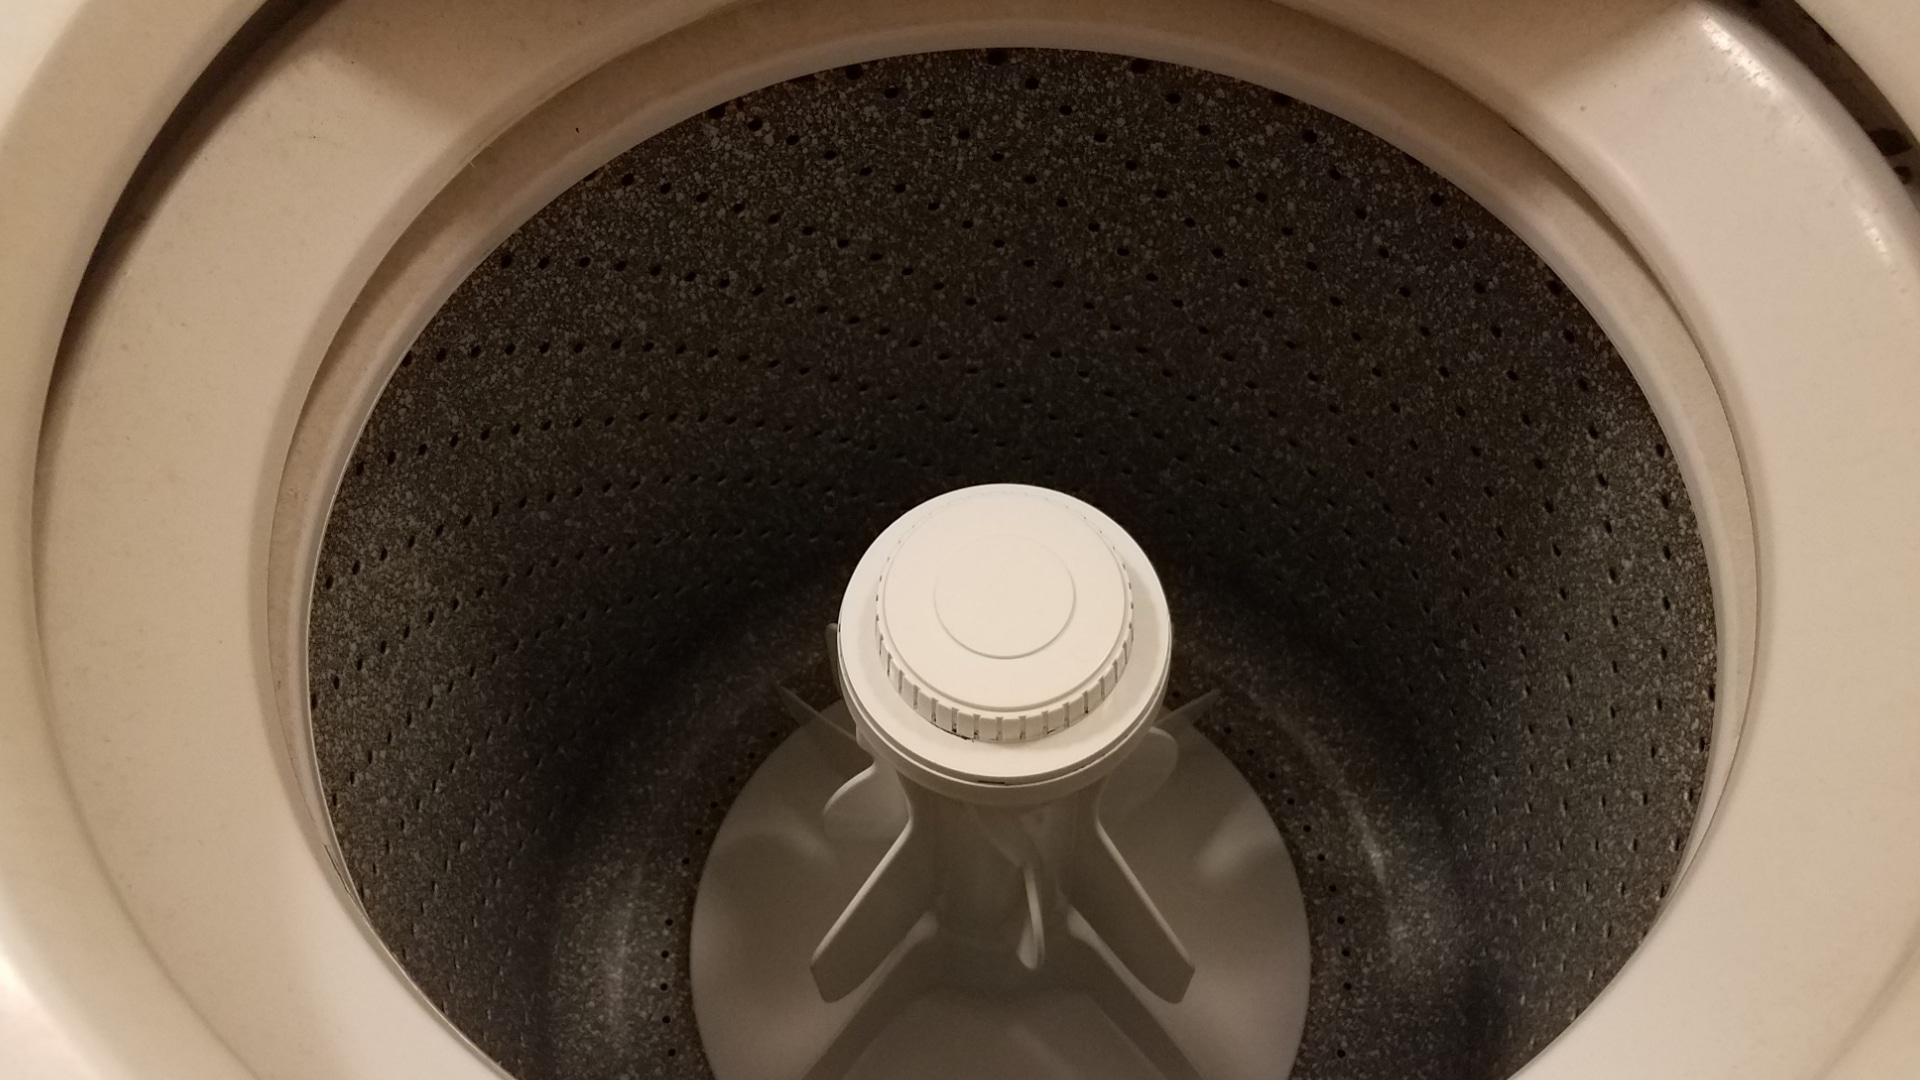
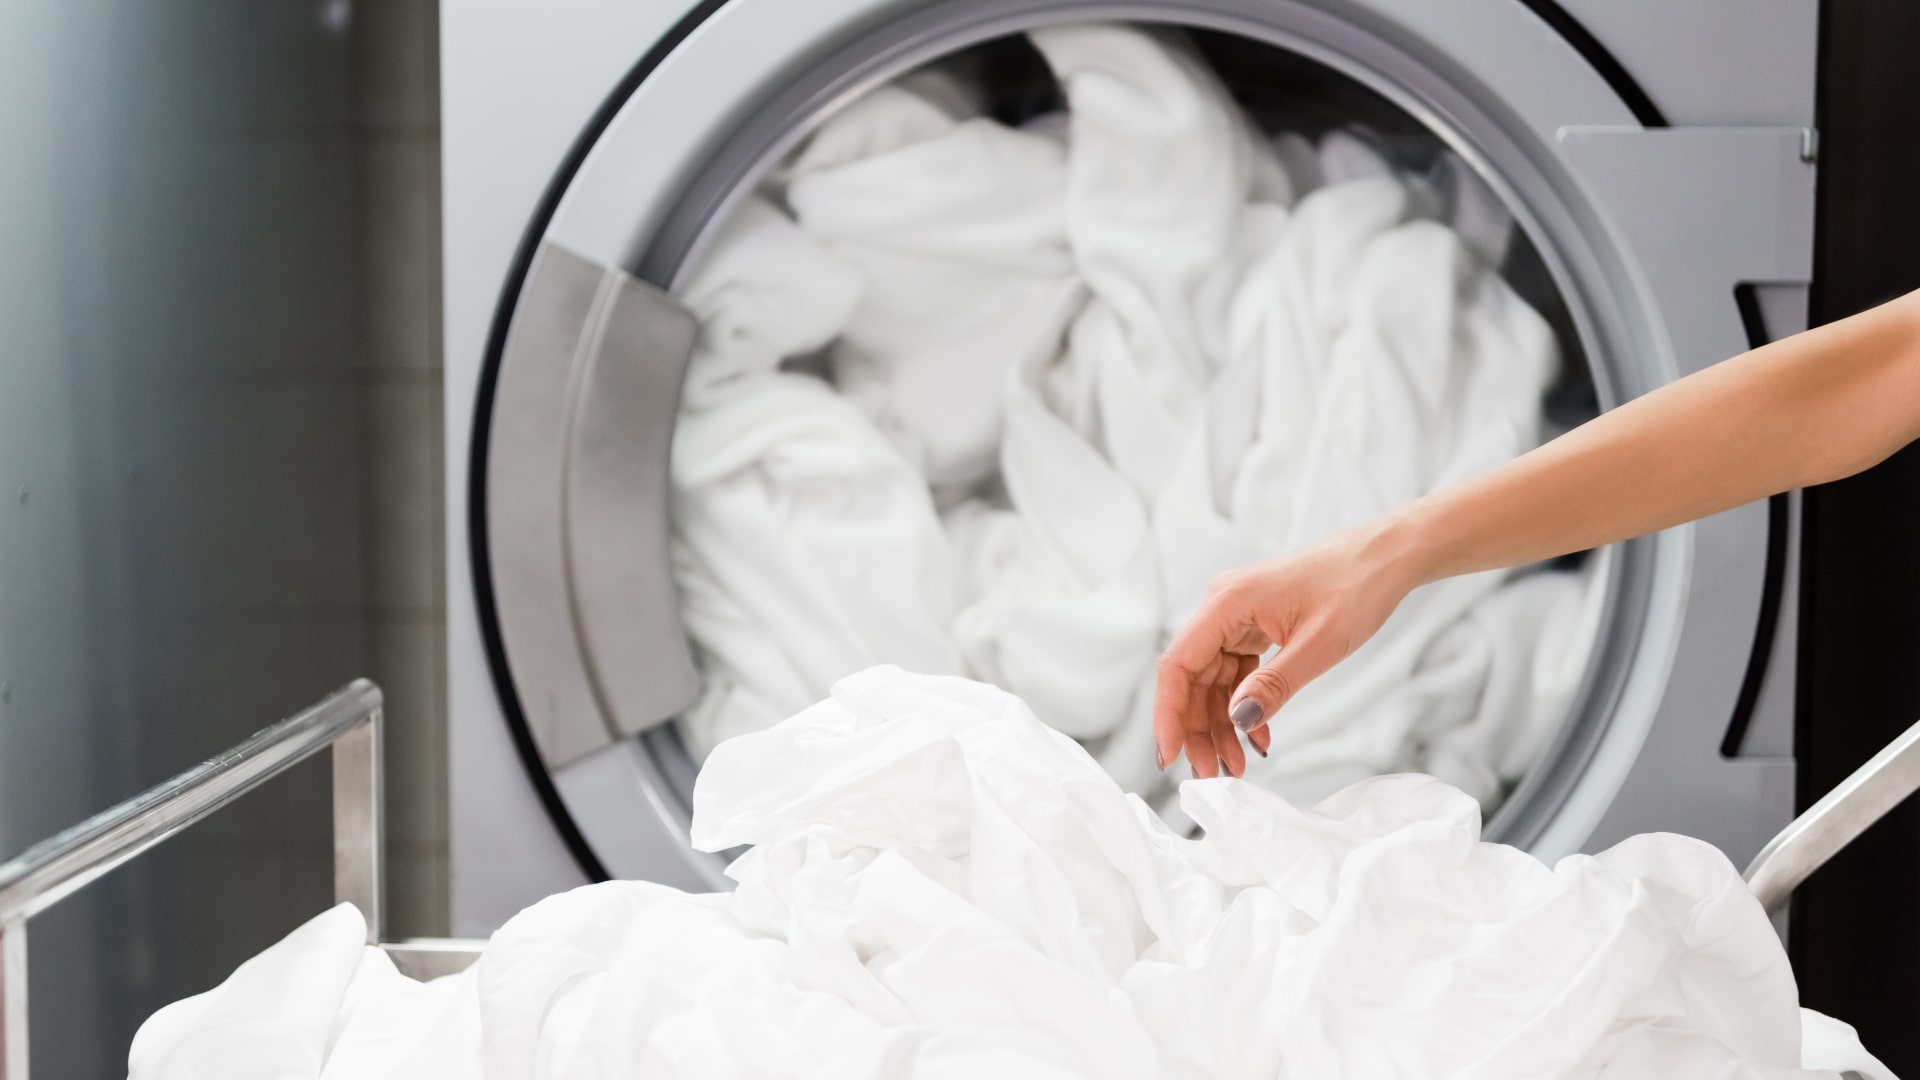
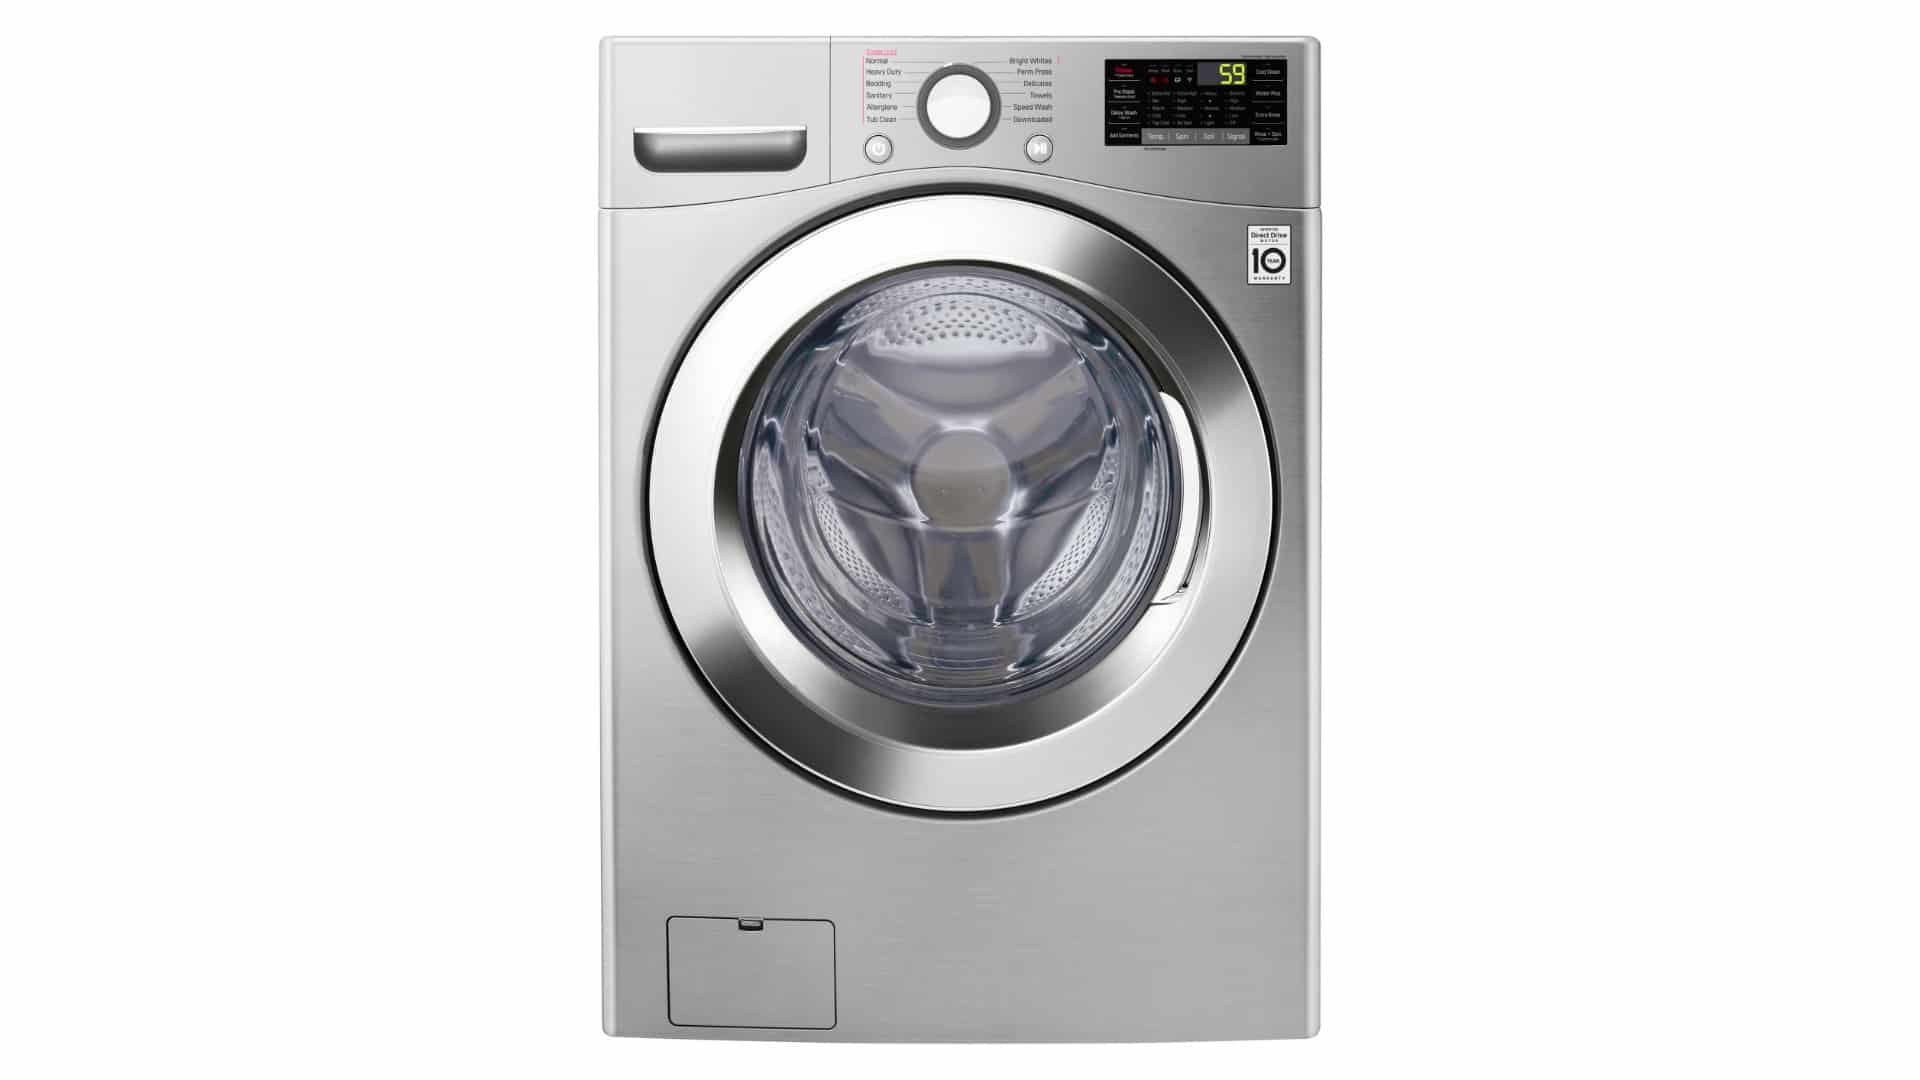
Washer Repair
Appliances are built to last. They are built to withstand a few dents and hard knocks. From horseplay in the house to moving bumps and scuffs, your washer can withstand almost anything. Almost. Sometimes, a dent is just too great to overcome. If your top-loading washer lid or top panel takes too great a hit, it just won’t be able to close and latch anymore.
The good news is that you don’t need to replace the whole washer, just the lid and top panel. You will likely need to replace the whole top panel to fix the lid, so here’s how to do it.
Gather Your Supplies
Start with the supplies you need. Put together a screwdriver and a 1/4 nut driver as your standard appliance tool kit. Wear your work gloves. The most important supplies to acquire is, of course, the replacement top panel. Make sure you have the right part number for your washer model.
- Screwdriver
- Nut Driver
- Work Gloves
- Replacement Top Panel
Safety First
Take safety measures to ensure that neither you nor the appliance are damaged during the repair. Protect the appliance from shorts and floods, protect yourself from shocks and cuts.
- Unplug the Washer
- The washer lid is attached to the lid switch electrical component, so you’ll want to cut the power to do this repair. Unplug your washer from the wall.
- Disconnect the Water Lines
- To ensure no flooding occurs during the repair, turn off and disconnect the water lines. Use a small tub to catch any water in the tubes.
- Wear Safety Gloves
- The underside and inner edges of each panel can be sharp. Wear gloves to protect your hands.
Remove the Old Lid
Uninstall the old lid by disassembling the top of your washer.
- Disconnect the Top Control Panel
- Remove the trim around your top control panel and remove the bolts. Lift the control panel front and it should swivel backward on a hinge. This will reveal the total top panel.
- Remove the Mounting Bolts
- Identify the mounting bolts securing the top panel and remove them with your screwdriver or nut driver.
- Disconnect the Lid Switch
- Identify the wire harness connecting the lid to the lid switch wires. Disconnect to free the panel.
- Lift and Remove the Top Panel
- Release any clips around the edge. Then lift and remove the top panel, including the washer lid. assembly.
Install the New Lid
Unpack the new lid and prepare to install it. This is a simple reversal of the previous process.
- Fit On the New Panel
- Align the new panel and push it into place. Let it settle onto the cabinet so the bolt-holes are lined up.
- Connect the Wire Harness
- Find the wire harness tail and connect it to the wires coming from the washer that you just disconnected.
- Secure the Bolts
- With the wires connected, resecure the bolts and lock the new top panel and lid into place.
- Return the Top Control Panel
- Flip the control panel back down over your new panel and return it’s bolts. Then re-secure the trim over the once again re-hidden panel bolts.
Reassemble the Washer
There are just a few final steps to wrap-up your successful repair.
- Return the Water Lines
- reconnect your water lines and/or reopen your valves.
- Plug in the Power
- Fit the power plug back into the wall so your washer has power again.
Test Your Success
Finally, you’re ready to test the success of your repair. Open and close that lid. Test the latch. Then run a new load of laundry to make sure you are satisfied. For any repairs that are more challenging or you don’t have time to DIY, contact us and we’ll be glad to take care of it!
Jul. 31, 2023
How to Fix a Microwave Door That Is Loose or Broken

Jul. 19, 2023
How to Clean a Smelly Refrigerator Quickly
Jun. 13, 2023
Troubleshooting LG Dishwasher OE Error Code: Causes and Solutions
May. 08, 2023
How to Fix an Amana Dishwasher Not Drying
Apr. 10, 2023
How to Dry Bedsheets in the Dryer
Mar. 14, 2023
Dryer Won’t Start? Common Reasons And Solutions
Feb. 01, 2023
5 Dangers of Self-Cleaning Ovens
Jan. 10, 2023
How to Replace a Washing Machine Faucet
Dec. 08, 2022
LG Washer Error Code UE Explained
Nov. 03, 2022
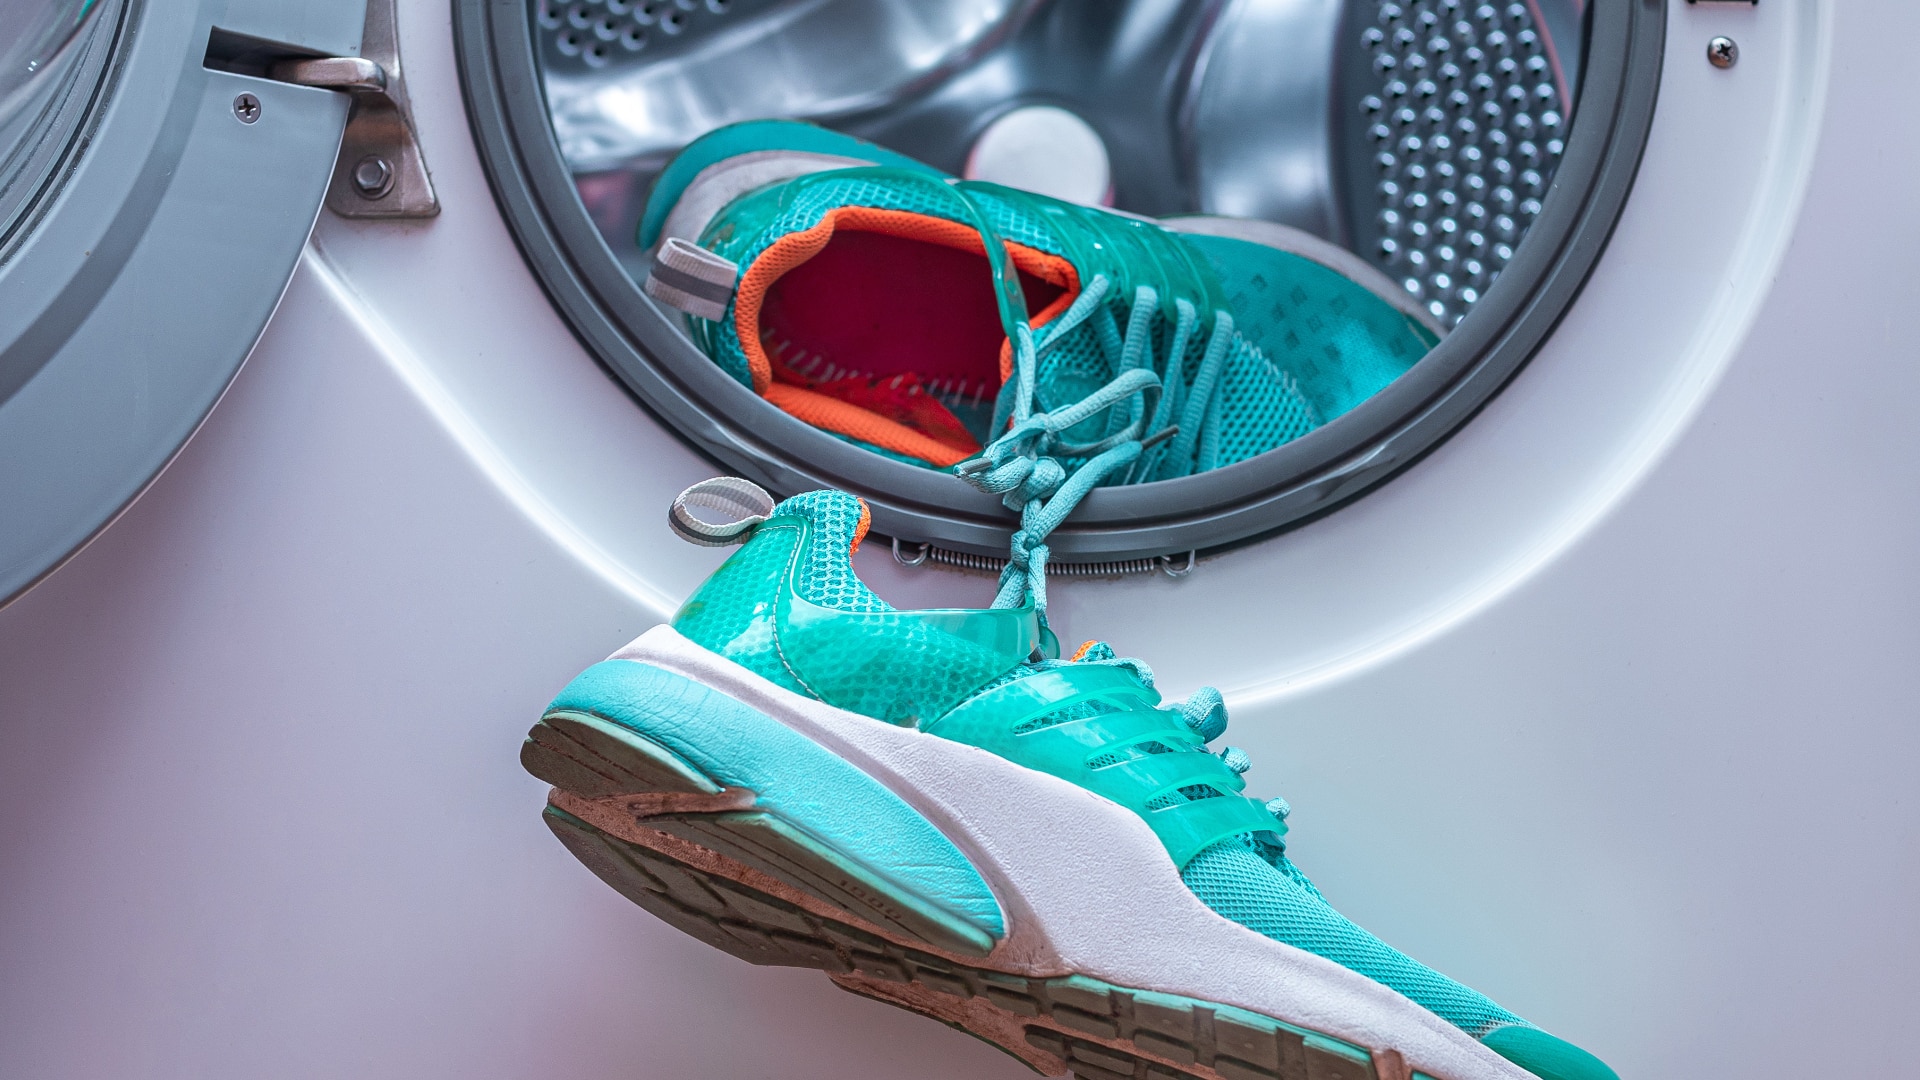
How To Wash Shoes in The Washing Machine
Oct. 03, 2022
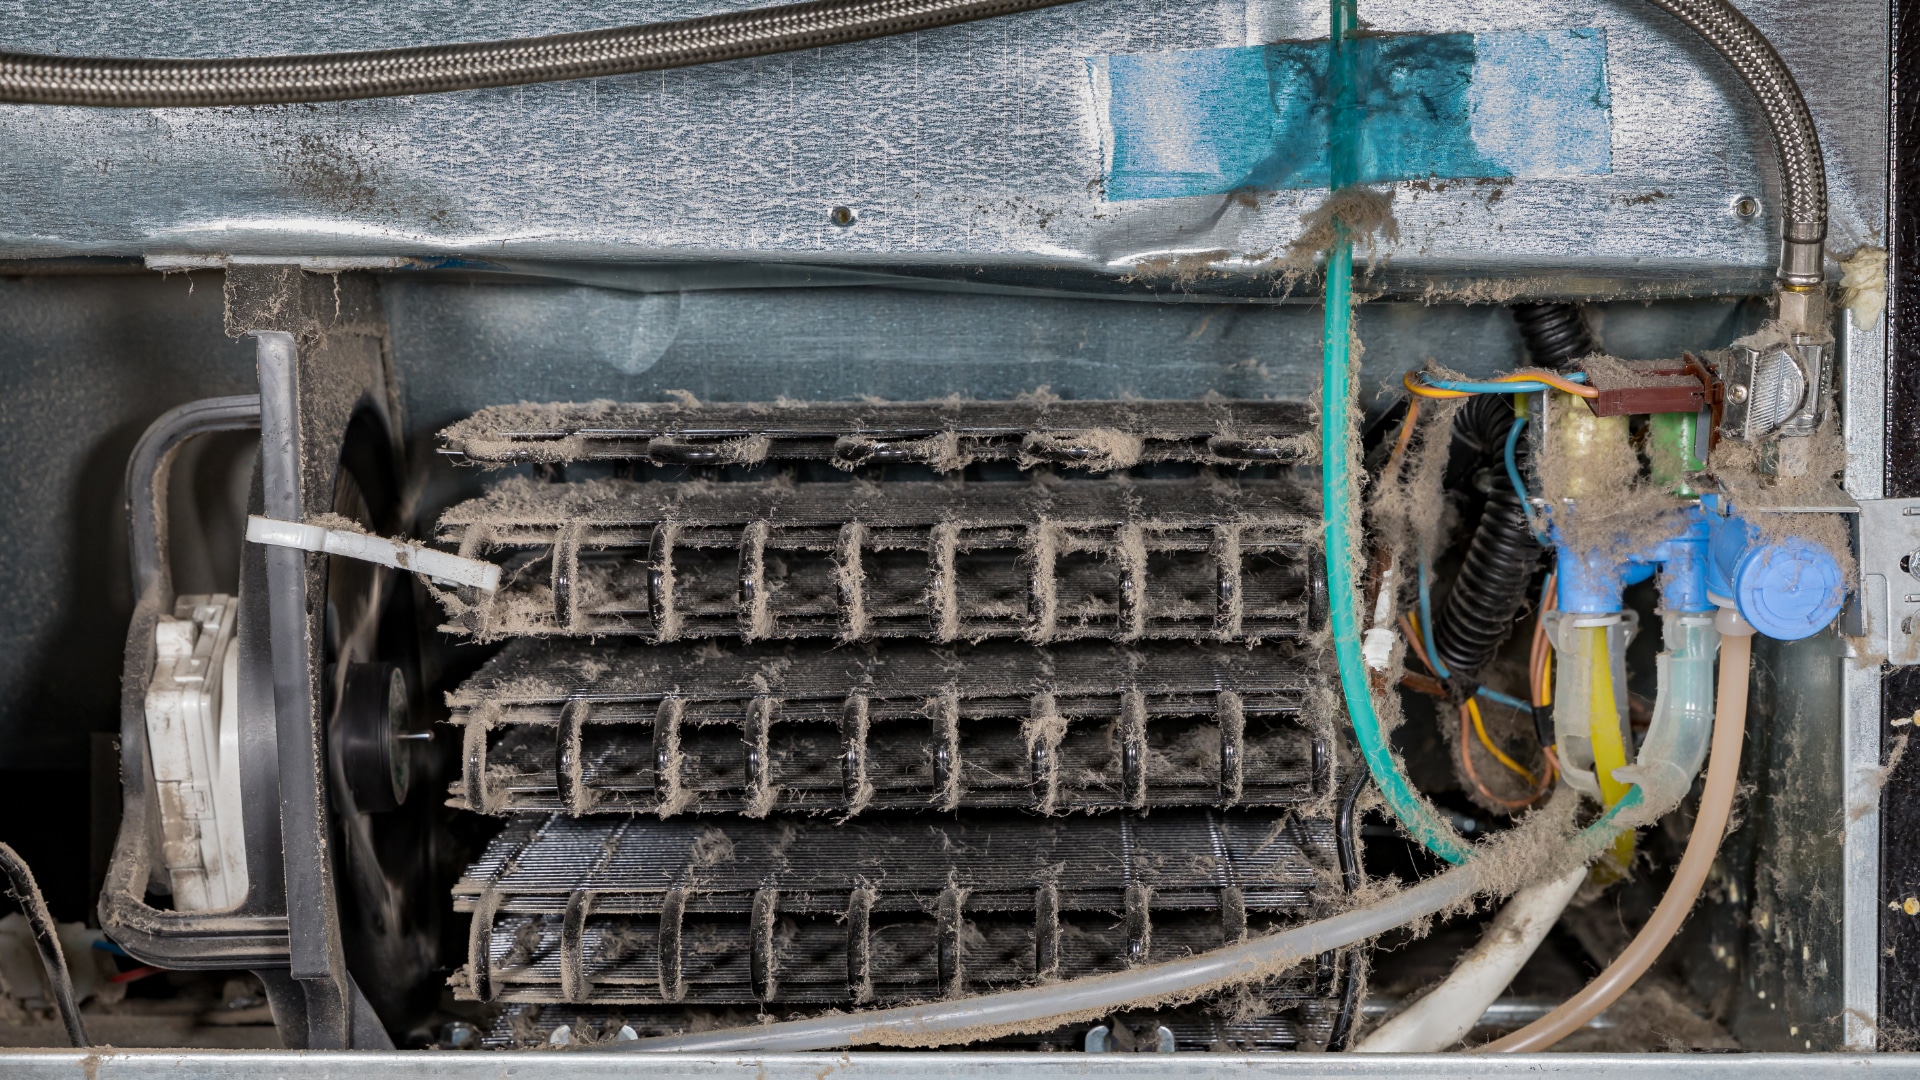
How To Clean Refrigerator Coils
Sep. 06, 2022
LG Ice Maker Tray Not Turning? How To Fix It
Aug. 10, 2022
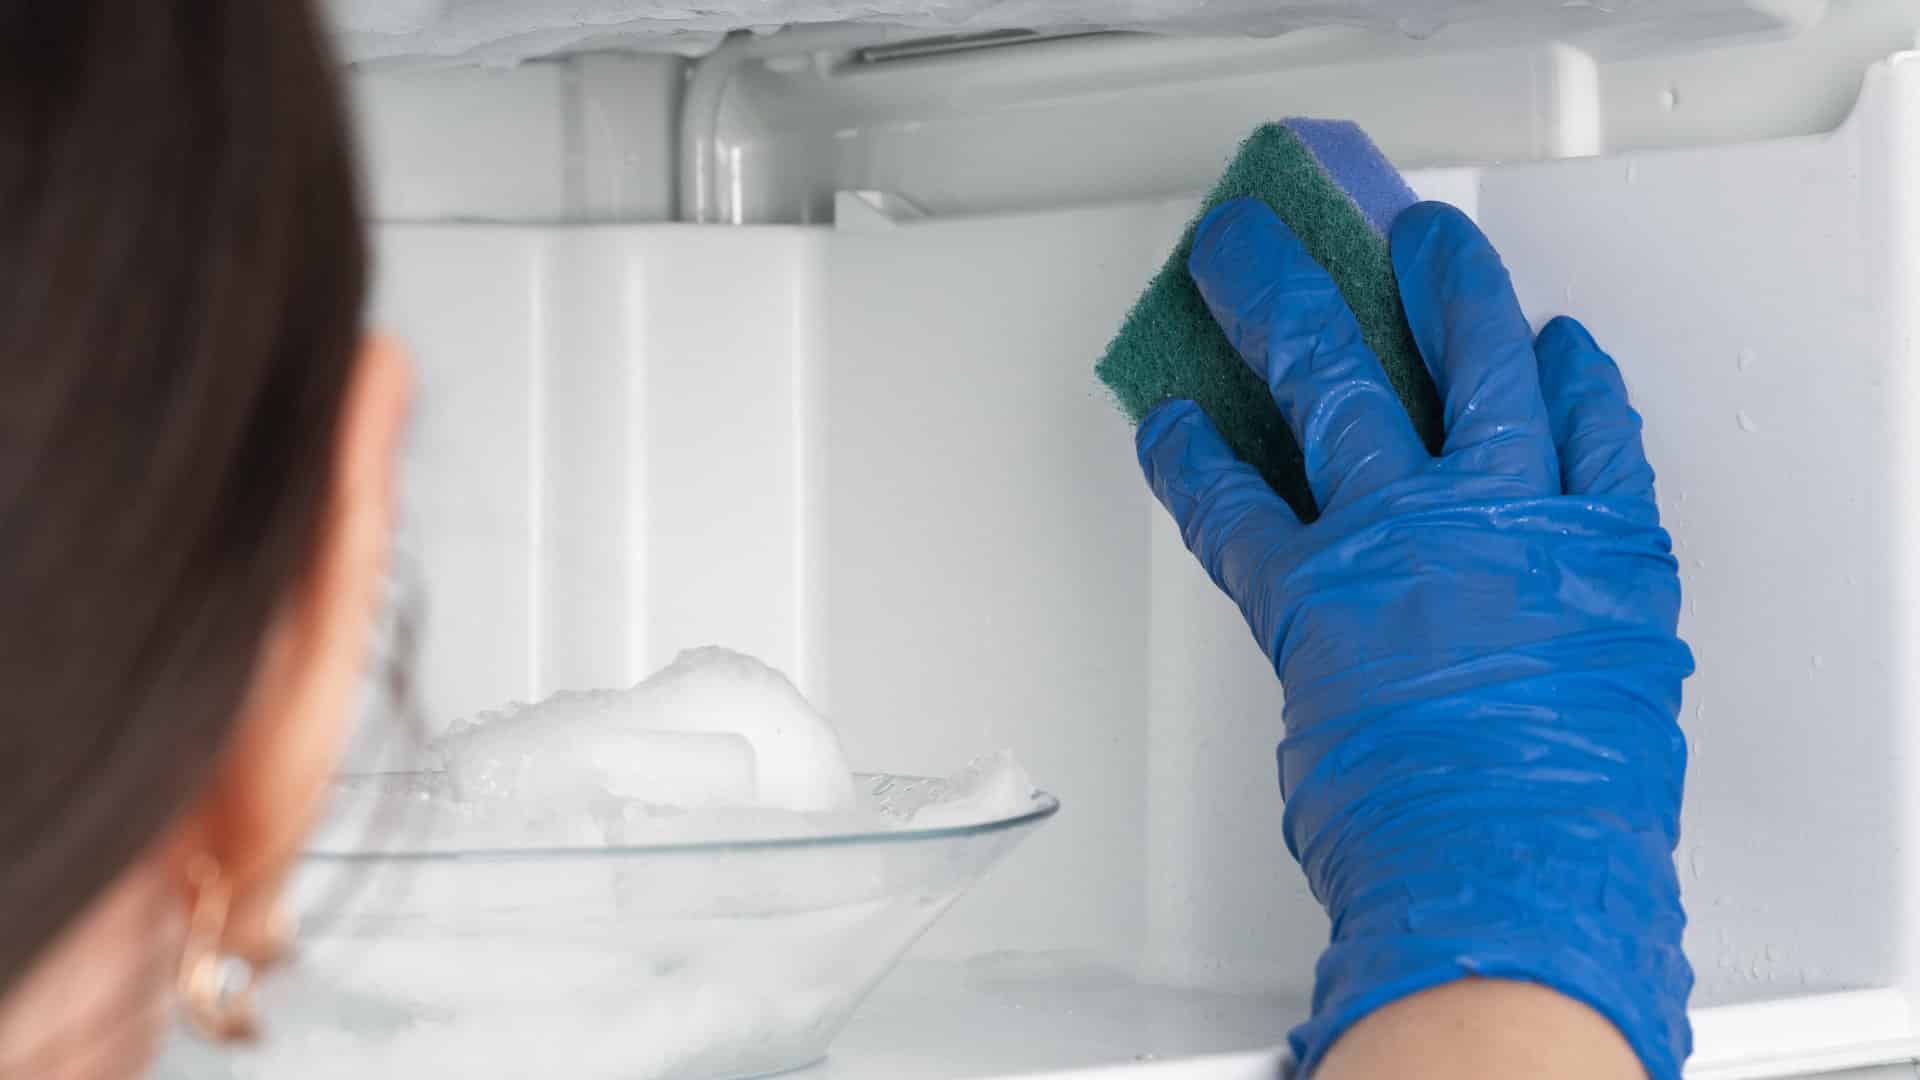
How To Clean a Freezer (in 5 Steps)
Jul. 05, 2022
Samsung Washer Error Code SC: How To Fix It
Jun. 06, 2022
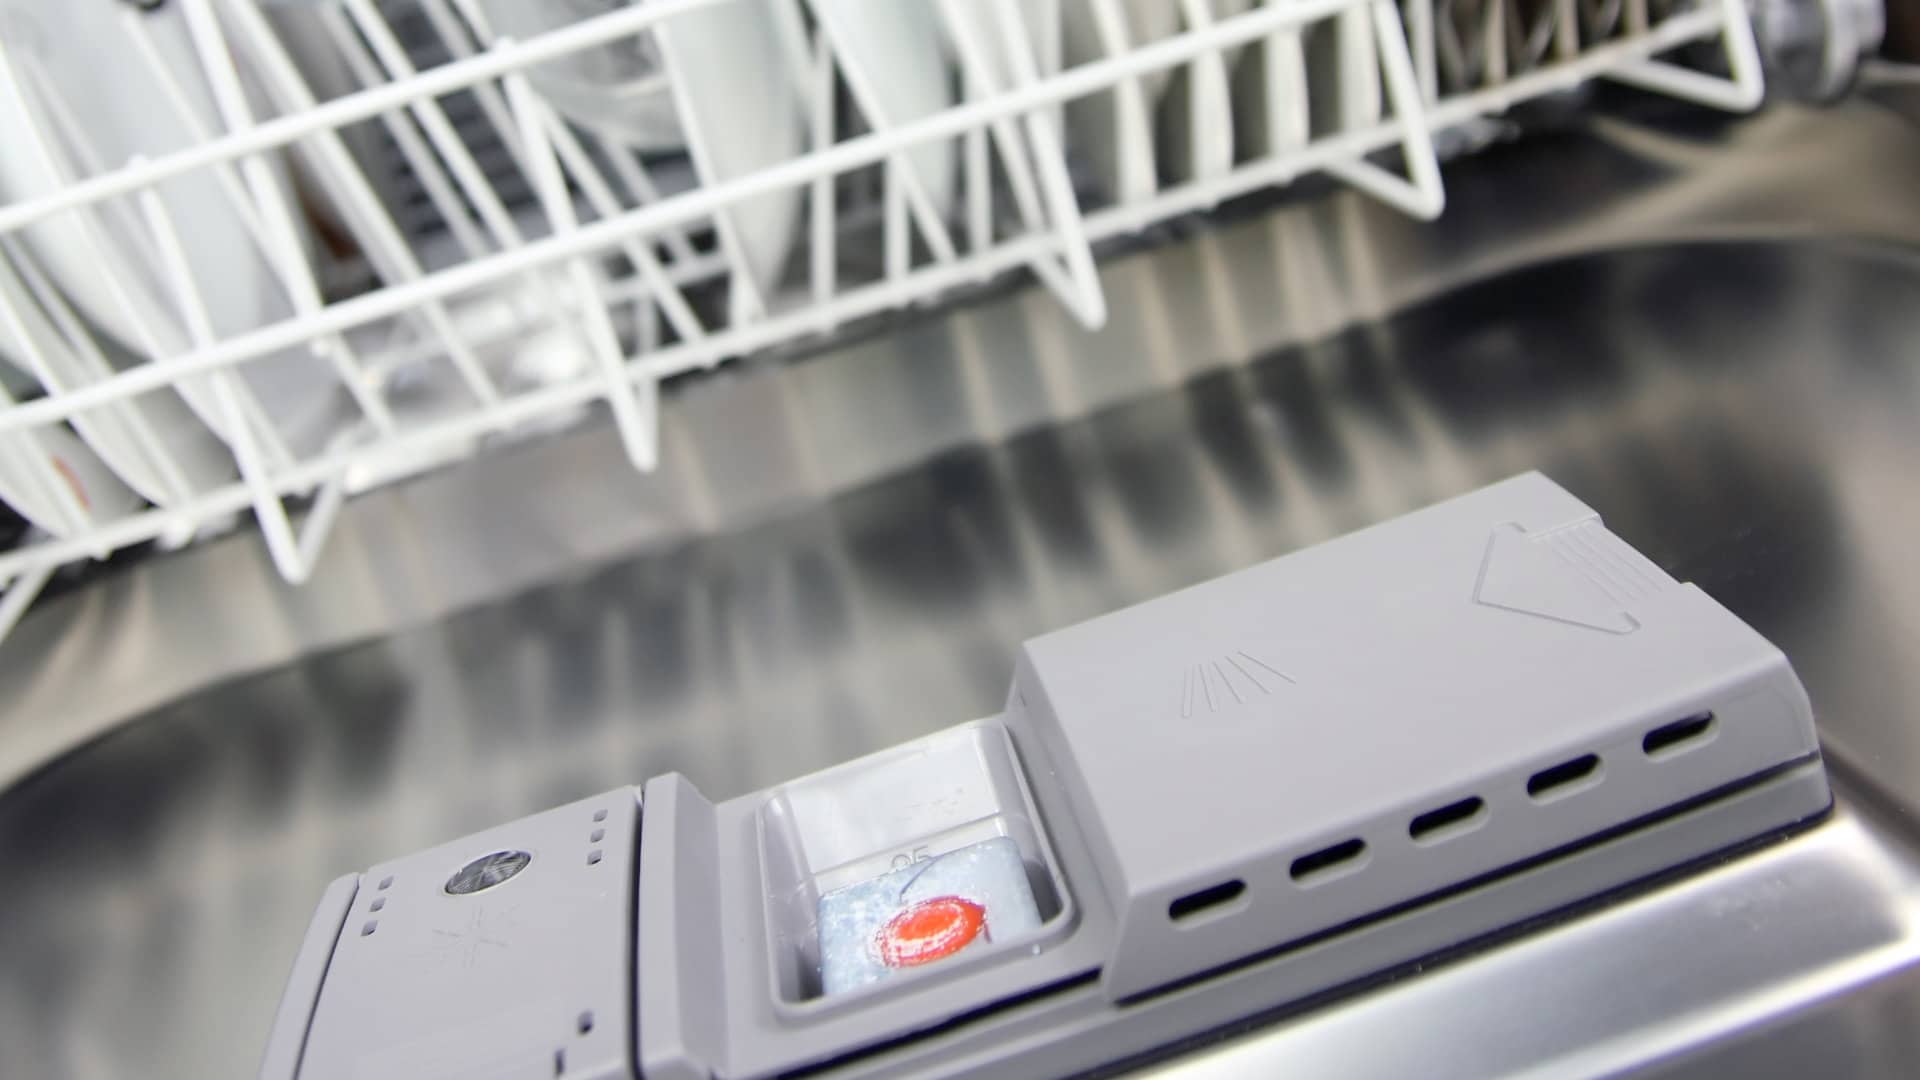
Bosch Dishwasher Error Codes: What Do They Mean?
954 - 399 - 9176Give us a call!