

July 31, 2023
Microwave Repair
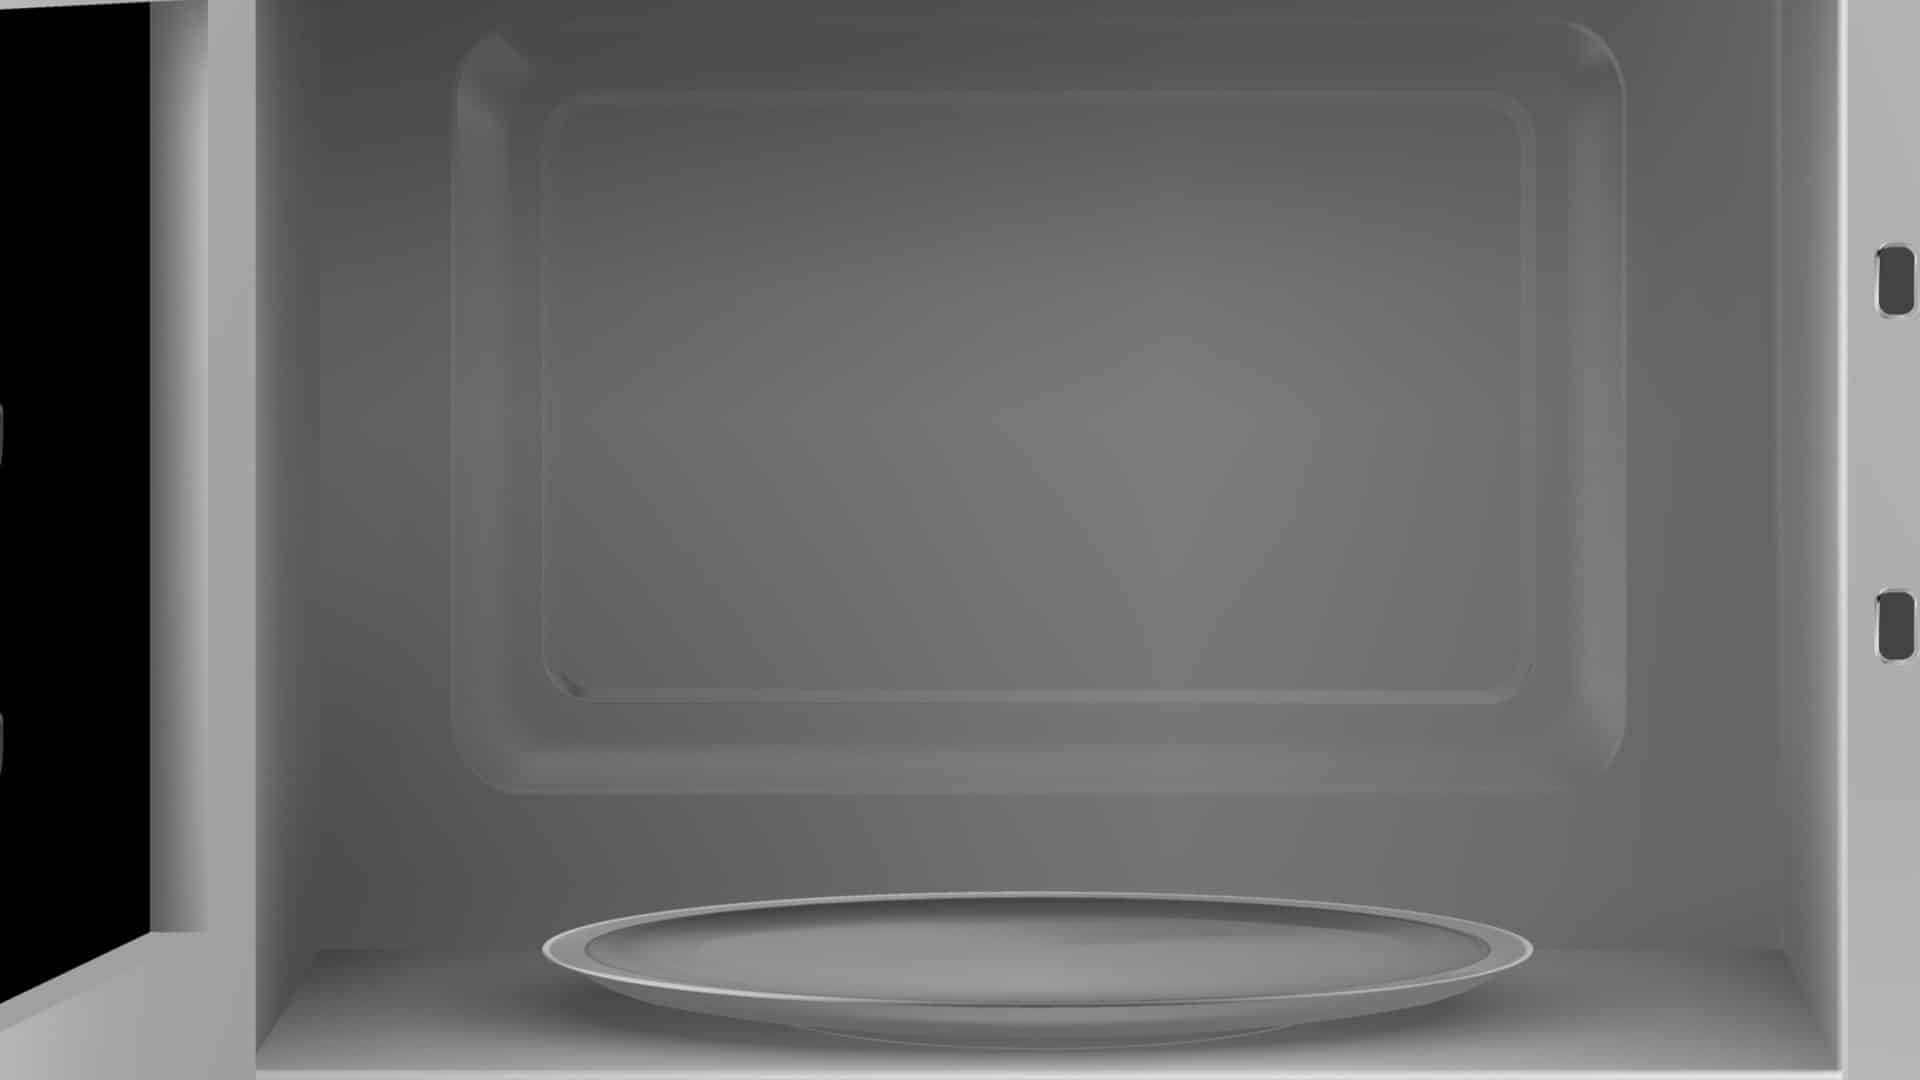
Microwave ovens are a staple in nearly every modern kitchen. They provide us with a very quick and convenient heating and cooking method. However, if a microwave door gets loose or broken, it can be frustrating and quite dangerous. It can also affect the microwave’s efficiency.
Repairing or replacing a microwave door can seem like a big task, but it is actually a fairly simple process that you can do yourself.
In this blog post, we will give you a step-by-step guide on how to fix a loose or broken microwave door.
Step 1: Safety First
Remember, while it is possible to repair a microwave door yourself, you should always consult a professional if you’re unsure about any step of the process. And never use a microwave with a damaged door, as it can lead to harmful radiation exposure.
Before you start repairing your microwave door, always prioritize safety. Make sure your microwave is unplugged and you are wearing protective safety gear such as gloves and safety goggles, especially if the door glass is broken. This will help you avoid any injury during the repair process.
Step 2: Identify the Problem
The first step in fixing your microwave door is to identify the problem. If your microwave door is loose, check the hinges and the latch. If the hinges are worn out or loose, they may need to be tightened or replaced. A latch that doesn’t latch will also need to be replaced. If the glass on your door is broken, you will need to replace the door entirely.
Step 3: Gather Your Tools
You’ll need a screwdriver (both flathead and Phillips), needlenose pliers, and possibly some replacement parts (like a new door latch or spring), depending on the issue. Make sure you have everything you need before you start.
Step 4: Remove the Door
Open the microwave door and look for the hinges. Usually, these are located on the top and bottom of the door. Use a screwdriver (Philips or flathead, depending on your model) to remove the screws holding the door in place. Be careful not to lose any screws or small parts.
Step 5: Inspect the Door
Once the door is off, inspect it for any visible damage. Look at the latches, springs, and plastic hooks that hold the door in place. If anything looks broken or worn out, it will need to be replaced.
Step 6: Tighten the Hinges or Latch
If the hinges or latch are loose, you can tighten them using a screwdriver. Locate the screws on the hinges or latch, usually on the inside of the door. Tighten these screws until they are secure. If you find any stripped screws, replace them with new ones.
Step 7: Replace Damaged Parts
If your hinges or latch are damaged beyond repair, you can replace them. You will need to purchase new hinges or latch compatible with your microwave brand and model. Once you have the new hinges or latch, remove the old, damaged parts by unscrewing them from the door frame. Install the new parts by screwing them into the frame. Make sure they are secure and aligned properly.
If you find a broken latch or spring, you’ll need to replace it. These parts can often be ordered online or purchased from an appliance repair shop. To replace the latch, use your screwdriver to remove it from the door, then simply snap the new one into place. Replacing a spring may be a bit more complicated, as you’ll need to ensure it’s properly tensioned.
To Replace a Broken Spring:
Step 1: Identify the Spring Location
Look for the location of the spring within the door assembly. It’s usually located near the hinges or the latch mechanism. If unsure, consult your microwave’s user manual or look for a diagram online.
Step 2: Remove the Old Spring
Use your needlenose pliers to carefully remove the old spring. Be sure to note how it’s attached before you remove it so you can install the new one in the same way.
Step 3: Install the New Spring
Attach the new spring in the same location as the old one. Use your needlenose pliers to help position it correctly. Make sure it’s securely attached and has the proper tension.
Step 8: Reassemble the Door
Once you’ve replaced any broken parts, it’s time to reassemble the door. Make sure all the parts are in their correct places before you start screwing the door back onto the microwave.
Step 9: Replace the Glass Door
If you have a broken glass door, you will need to replace it entirely. You must purchase a replacement glass door compatible with your microwave brand and model. Remove the old, broken glass door by opening and lifting it off the hinges. Install the new door by aligning it with the hinges and lowering it onto them. Make sure the door fits securely.
Step 10: Test the Door
After reassembling the door, test it by opening and closing it a few times. It should move smoothly and latch securely. If it doesn’t, you may need to adjust the hinges or replace other parts.
Step 11: Final Checks
Finally, plug the microwave back in and give it a quick test run with a cup of water to ensure it’s heating properly. If everything seems to be working well, congratulations! You’ve successfully repaired your microwave door.
Summary
Repairing or replacing a loose or broken microwave door is a simple process that you can do yourself. Always prioritize safety by ensuring your microwave is unplugged, and you wear protective gear. Identify the problem, tighten or replace any broken or loose parts as needed, and replace a broken glass door entirely.
By following these tips, you can ensure that your microwave door is secure and functioning efficiently.
Jul. 31, 2023
How to Fix a Microwave Door That Is Loose or Broken

Jul. 19, 2023
How to Clean a Smelly Refrigerator Quickly
Jun. 13, 2023
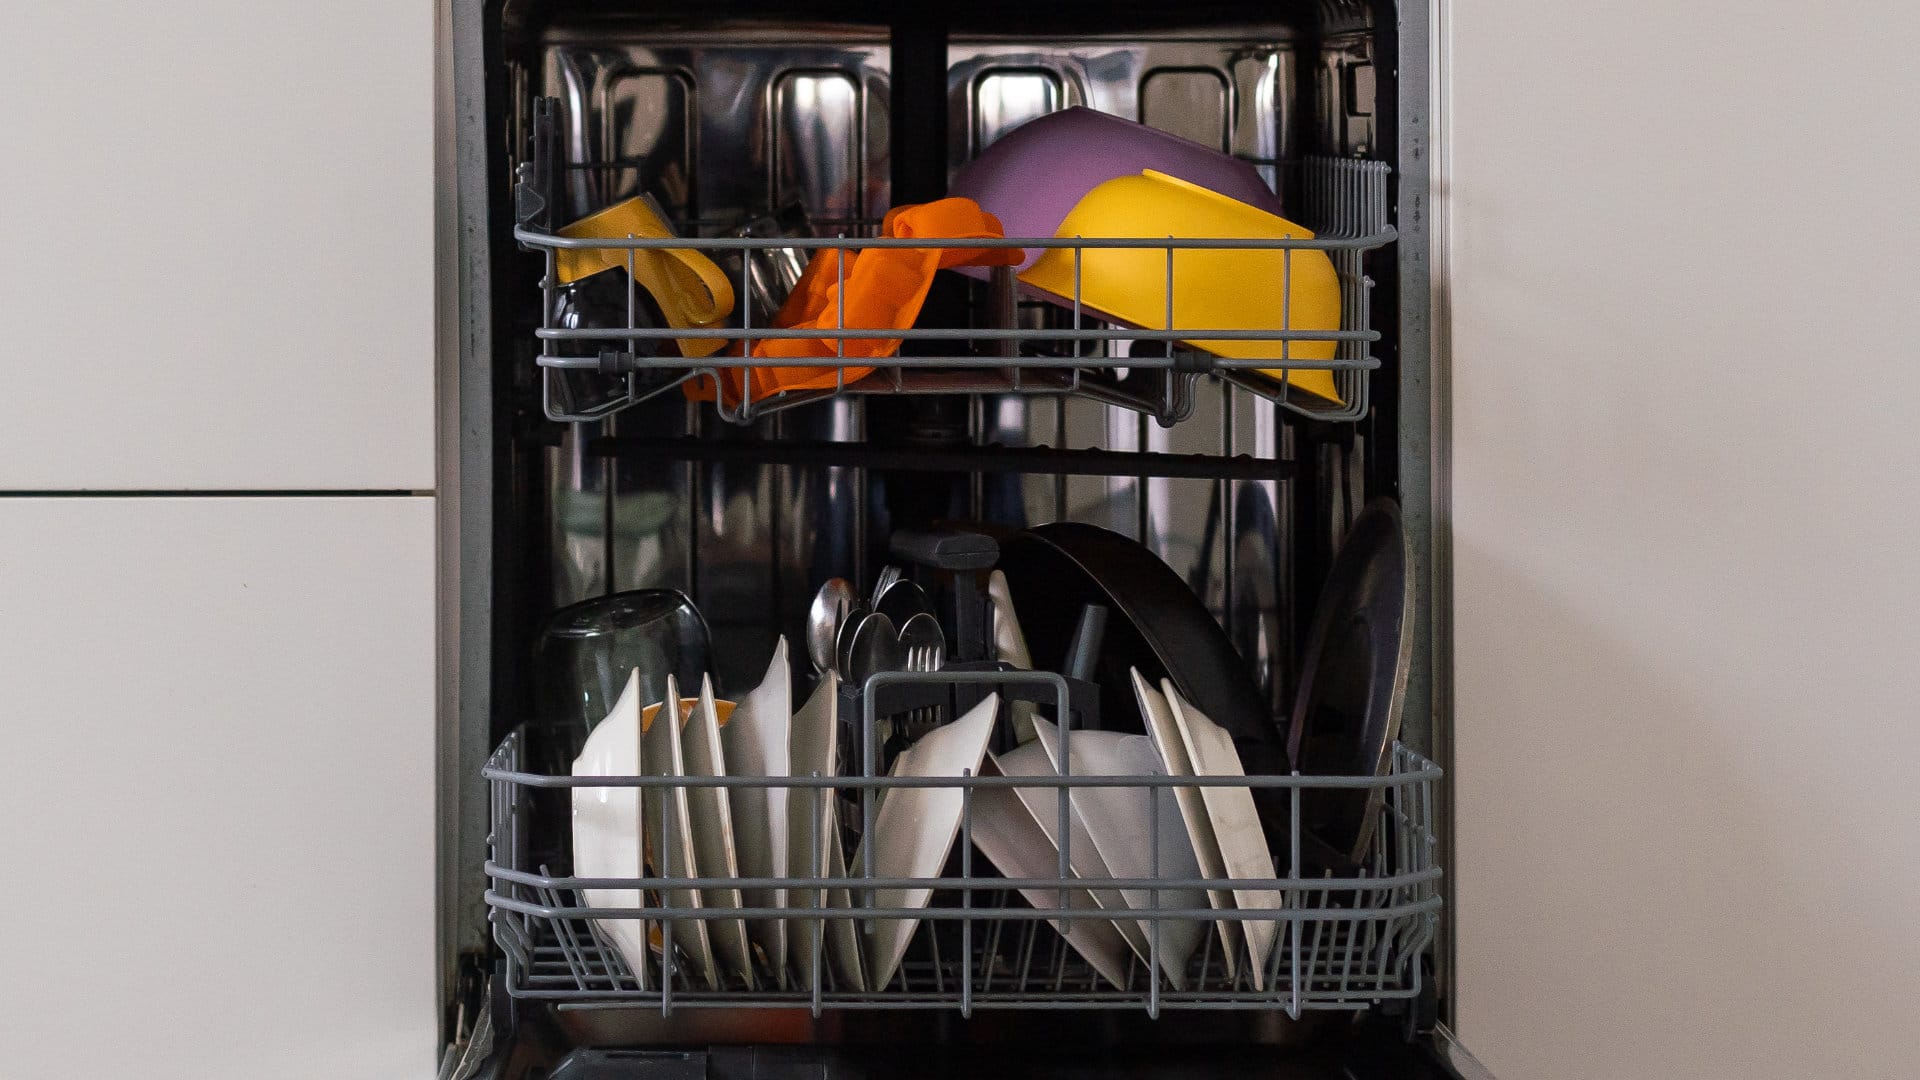
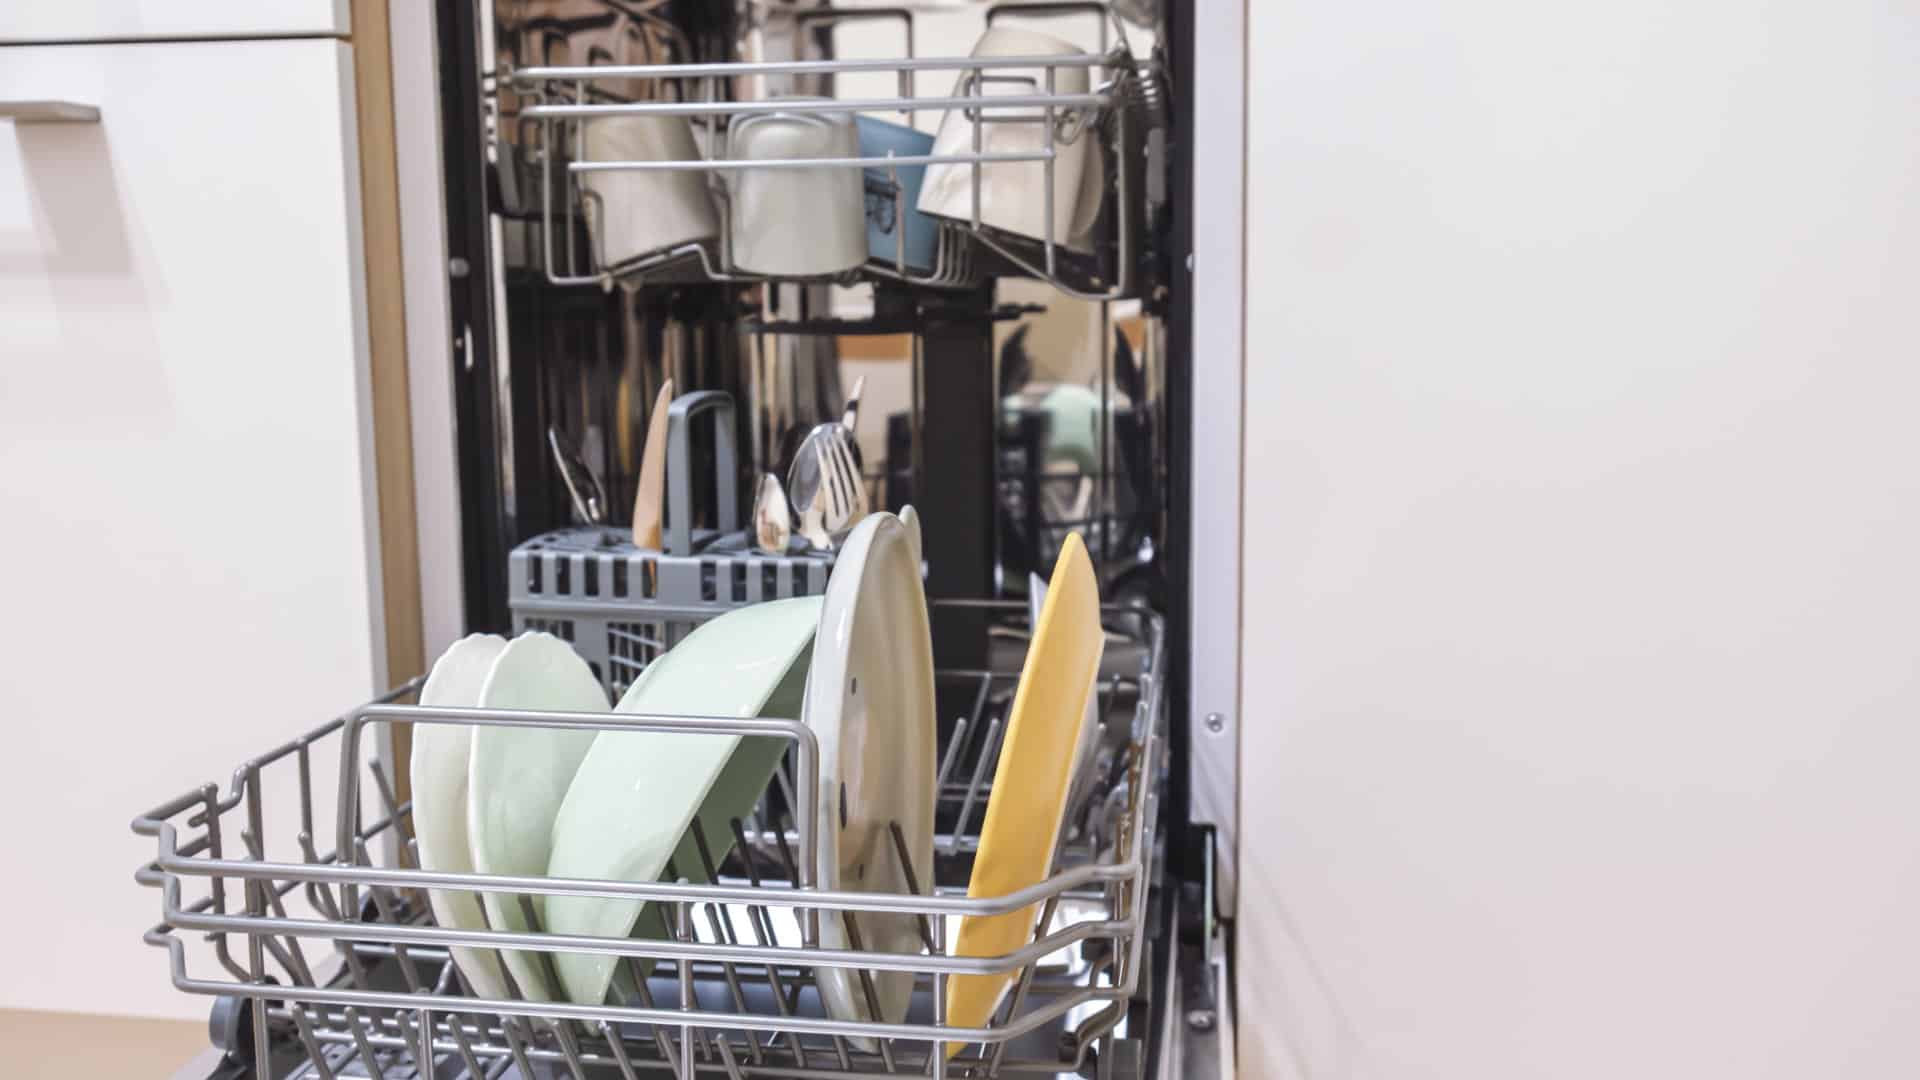
Troubleshooting LG Dishwasher OE Error Code: Causes and Solutions
May. 08, 2023
How to Fix an Amana Dishwasher Not Drying
Apr. 10, 2023
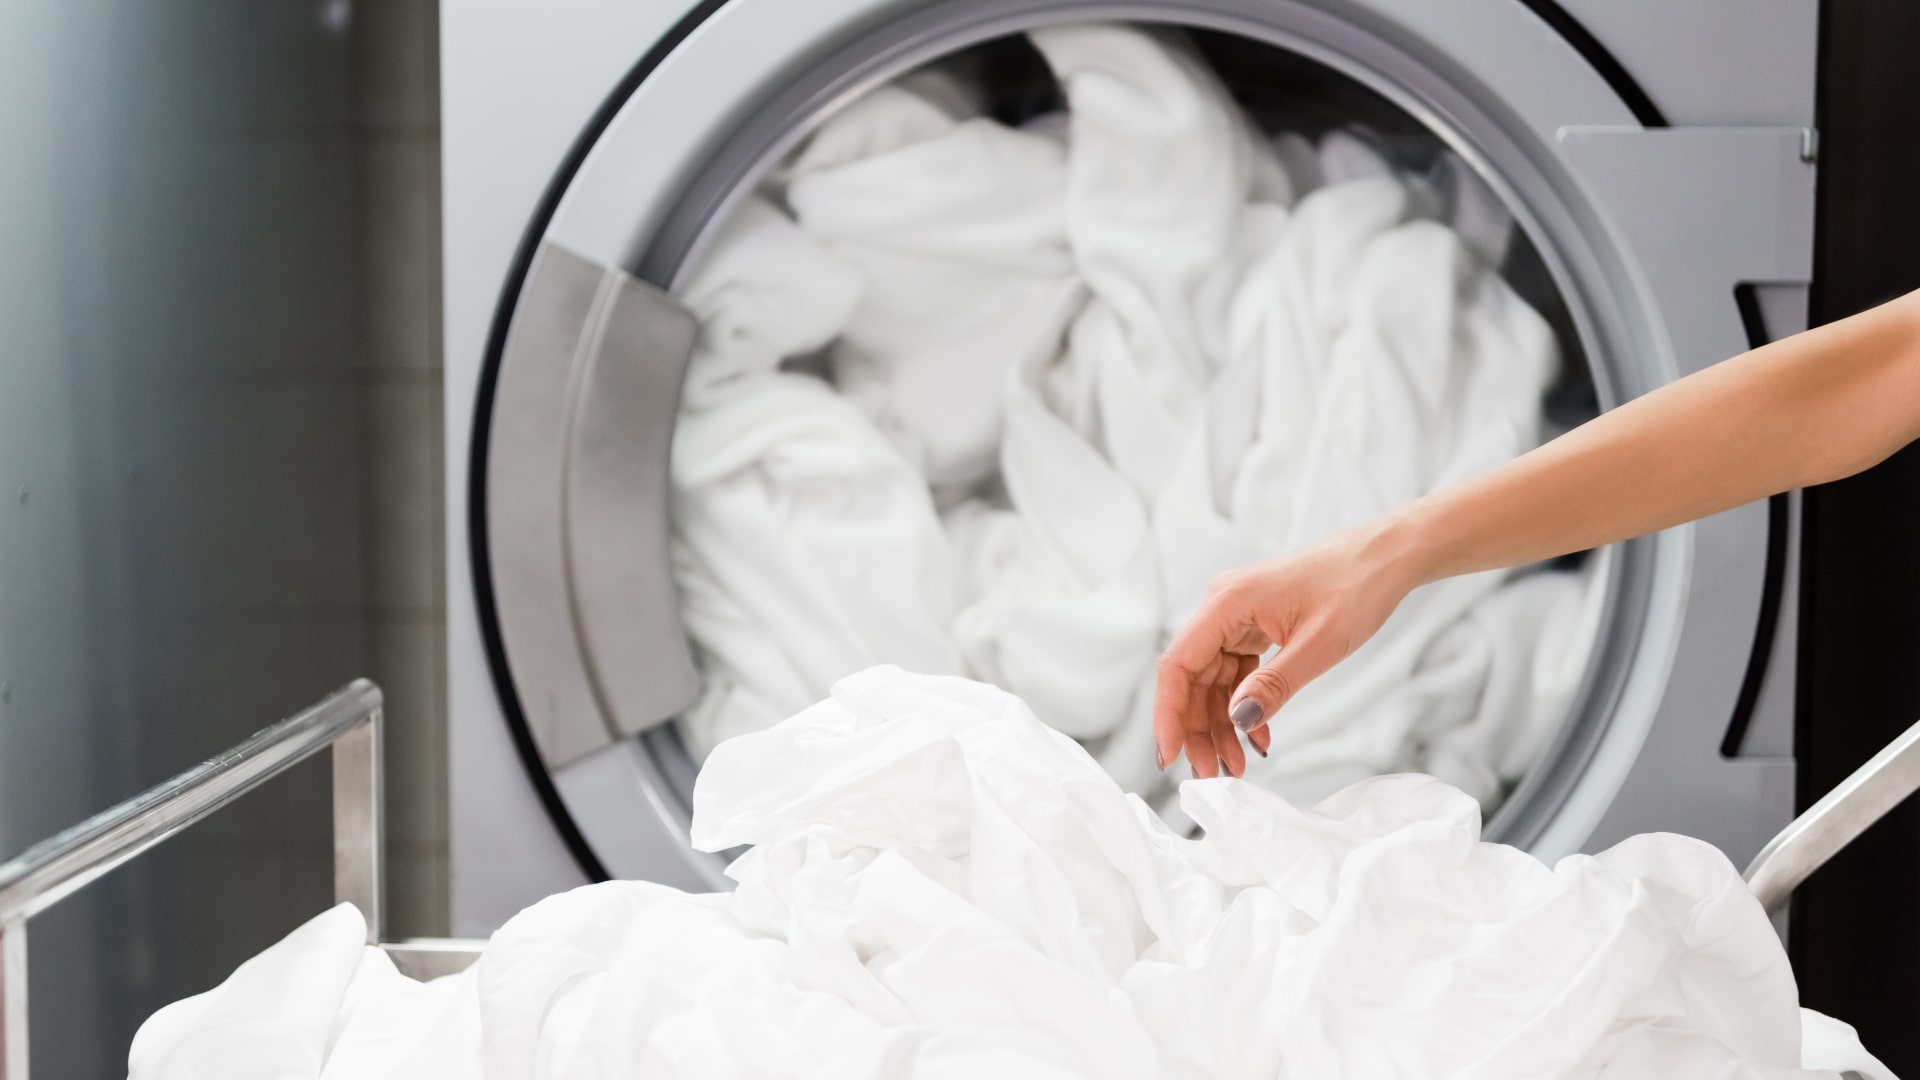
How to Dry Bedsheets in the Dryer
Mar. 14, 2023
Dryer Won’t Start? Common Reasons And Solutions
Feb. 01, 2023
5 Dangers of Self-Cleaning Ovens
Jan. 10, 2023
How to Replace a Washing Machine Faucet
Dec. 08, 2022
LG Washer Error Code UE Explained
Nov. 03, 2022
How To Wash Shoes in The Washing Machine
Oct. 03, 2022
How To Clean Refrigerator Coils
Sep. 06, 2022
LG Ice Maker Tray Not Turning? How To Fix It
Aug. 10, 2022
How To Clean a Freezer (in 5 Steps)
Jul. 05, 2022
Samsung Washer Error Code SC: How To Fix It
Jun. 06, 2022
Bosch Dishwasher Error Codes: What Do They Mean?
954 - 399 - 9176Give us a call!