


July 7, 2021
Refrigerator Repair
If your LG ice maker tray is not turning, there is something wrong with one or more of the components in your freezer or the ice maker unit within it.
To find the cause of the problem, please go through each of the steps that we have outlined in this guide. Hopefully, you will be able to find the cause and quickly fix it so your ice maker starts working properly again.
The guide covers most LG refrigerator models, including:
LFX21976ST
LFX25950SB
LFX25950SW
LFX25950TT
LFX25976ST
LFX25991ST
LFX28978SB
LFX28978SW
LFX28979ST
LFX31925ST
LFX31935ST
LFX31945ST
LMX25984SW
LMX25986ST
LMX28988SB
LMX28988ST
LMX28988SW
LRDC22743ST
LRDC22744ST
LRSC26980SB
LSFS213ST
Step One – Check the Freezer Temperature
For your ice tray to work correctly, your freezer must not be above 10 degrees Fahrenheit (-12 degrees Celsius).
Here’s how to check and reset the temperature:
- Check that your freezer temperature is set between 0 and 5 degrees Fahrenheit (-18 to -15 degrees Celsius). If not, adjust the temperature setting on the temperate gauge in your freezer.
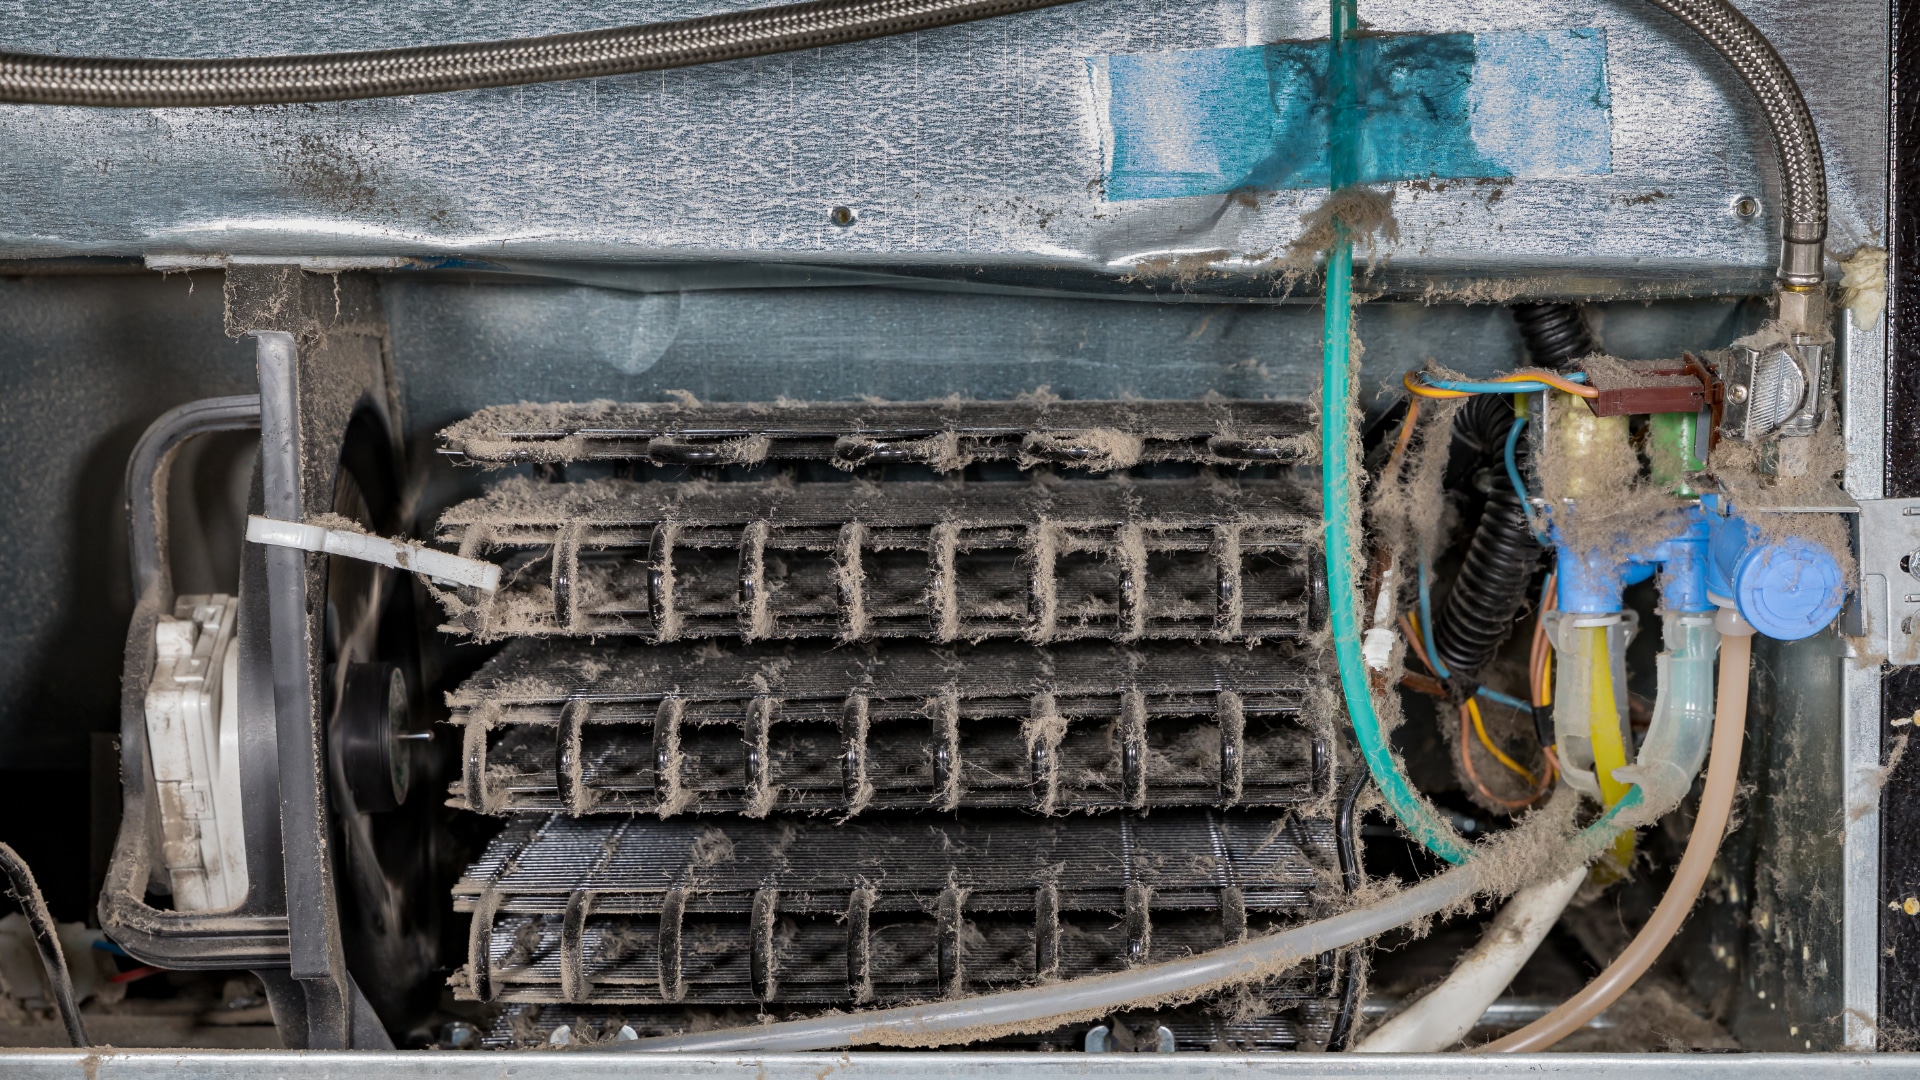
- Check the current temperature of your freezer by using an external thermostat. If the temperature is above 10 degrees Fahrenheit, check the condenser coils for signs of dirt or frost build-up and that the condenser fan is working properly. If the coils are dirty or frozen, give them a good clean or let them defrost by turning the fridge off.
- Once you’ve readjusted the freezer temperate and/or cleaned the coils, check if the problem has been solved. If not, move on to step two.
Step Two – Check the Ice Maker Switch
The next step is to check that the ice maker switch is working correctly.
To do that:
- Locate the ice maker switch (check your manual if necessary).
- Check that the switch is turned on. If not, turn it on.
- If the switch is turned on, use a multimeter to test the switch for continuity.
- If the test shows that the switch does not have continuity, it will need to be replaced. If it does have continuity, then it is working fine, and you can move on to the next step.
Step Three – Check the Water Inlet Valve
The water inlet valve opens to let water into the ice maker when it is told to by the control board. if it becomes defective, your ice maker will not work properly.
To check the water inlet valve, you need to:
- Locate the water inlet valve (consult your manual if necessary).
- Check the water pressure. To work properly, the valve requires at least 20 psi. If the pressure is below 20 psi, it will need to be fixed.
- If the water pressure is ok, the next step is to use a multimeter to test that the water inlet valve is receiving power.
- If the water pressure is fine and the water inlet valve is getting power, then this means the water inlet valve is most likely faulty and should be replaced.
- Once replaced, check to see if the ice tray now turns properly. If not, move on to step four.
Step Four – Change the Water Filter
The next step is to check the water filter. When the filter becomes clogged, water will not flow properly into the fridge, and the ice maker will not be able to work correctly. You need to replace your water filter every 6 months. If you haven’t changed the water filter for a while, replace it and then see if the ice maker starts to work properly. If not, move on to step five.
Step Five – Inspect the Ice Maker Module
Your ice maker unit has a motor that helps to turn the tray around and deposit ice cubes into the ice container. The motor automatically turns on when the ice tray reaches a certain temperature. After the ice tray is turned and the ice is deposited, it will then make the water inlet valve open to refill the tray with water.
To check the ice maker module, you need to:
- Make sure that the switch is turned on.
- Check that the ejector blades are not obstructed in any way.
- Turn the power off to the fridge, and then test the motor for continuity with a multimeter. If it doesn’t have continuity, it will need to be replaced by a qualified technician.
- If all of the above are fine, move on to the next step.
Step Six – Check the Door Switch
The door switch is responsible for turning off the ice and water dispenser if the fridge door opens. When the door switch becomes faulty, your ice maker will not work properly.
Here’s how to check it:
- Locate the door switch.
- Remove the door switch.
- Test the switch with a multimeter.
- If the switch has continuity, it is working fine, and you can move on to the next step. If the switch doesn’t have continuity, then it needs to be replaced.
Step Seven – Check the Ice Tray Thermostat
The ice tray thermostat (sometimes called an ice maker mold thermostat) is responsible for keeping track of the temperature of the ice tray. When the ice tray reaches the right temperature, the ice tray will then turn around and deposit ice cubes into the ice container. If the thermostat doesn’t work properly, the ice tray will not turn around.
To check the thermostat, you need to:
- Locate the thermostat.
- Test the thermostat with a multimeter.
- If the test shows the thermostat has continuity, it is working correctly, and you can move on to step eight. If the thermostat doesn’t have continuity, you will need to replace it.
Step Eight – Replace the Ice Maker Assembly
If you still haven’t solved the problem, you might want to consider replacing the ice maker assembly completely. The components that make up the ice maker assembly are usually not sold separately, so you have to replace the whole unit. If you have tested all of the other components listed above and still haven’t fixed your ice tray, then you should consider replacing the ice maker assembly unit. However, before doing so it is a good idea to get a qualified technician to inspect your freezer.
Jul. 31, 2023
How to Fix a Microwave Door That Is Loose or Broken

Jul. 19, 2023
How to Clean a Smelly Refrigerator Quickly
Jun. 13, 2023
Troubleshooting LG Dishwasher OE Error Code: Causes and Solutions
May. 08, 2023
How to Fix an Amana Dishwasher Not Drying

Apr. 10, 2023
How to Dry Bedsheets in the Dryer
Mar. 14, 2023
Dryer Won’t Start? Common Reasons And Solutions
Feb. 01, 2023
5 Dangers of Self-Cleaning Ovens
Jan. 10, 2023
How to Replace a Washing Machine Faucet
Dec. 08, 2022
LG Washer Error Code UE Explained
Nov. 03, 2022
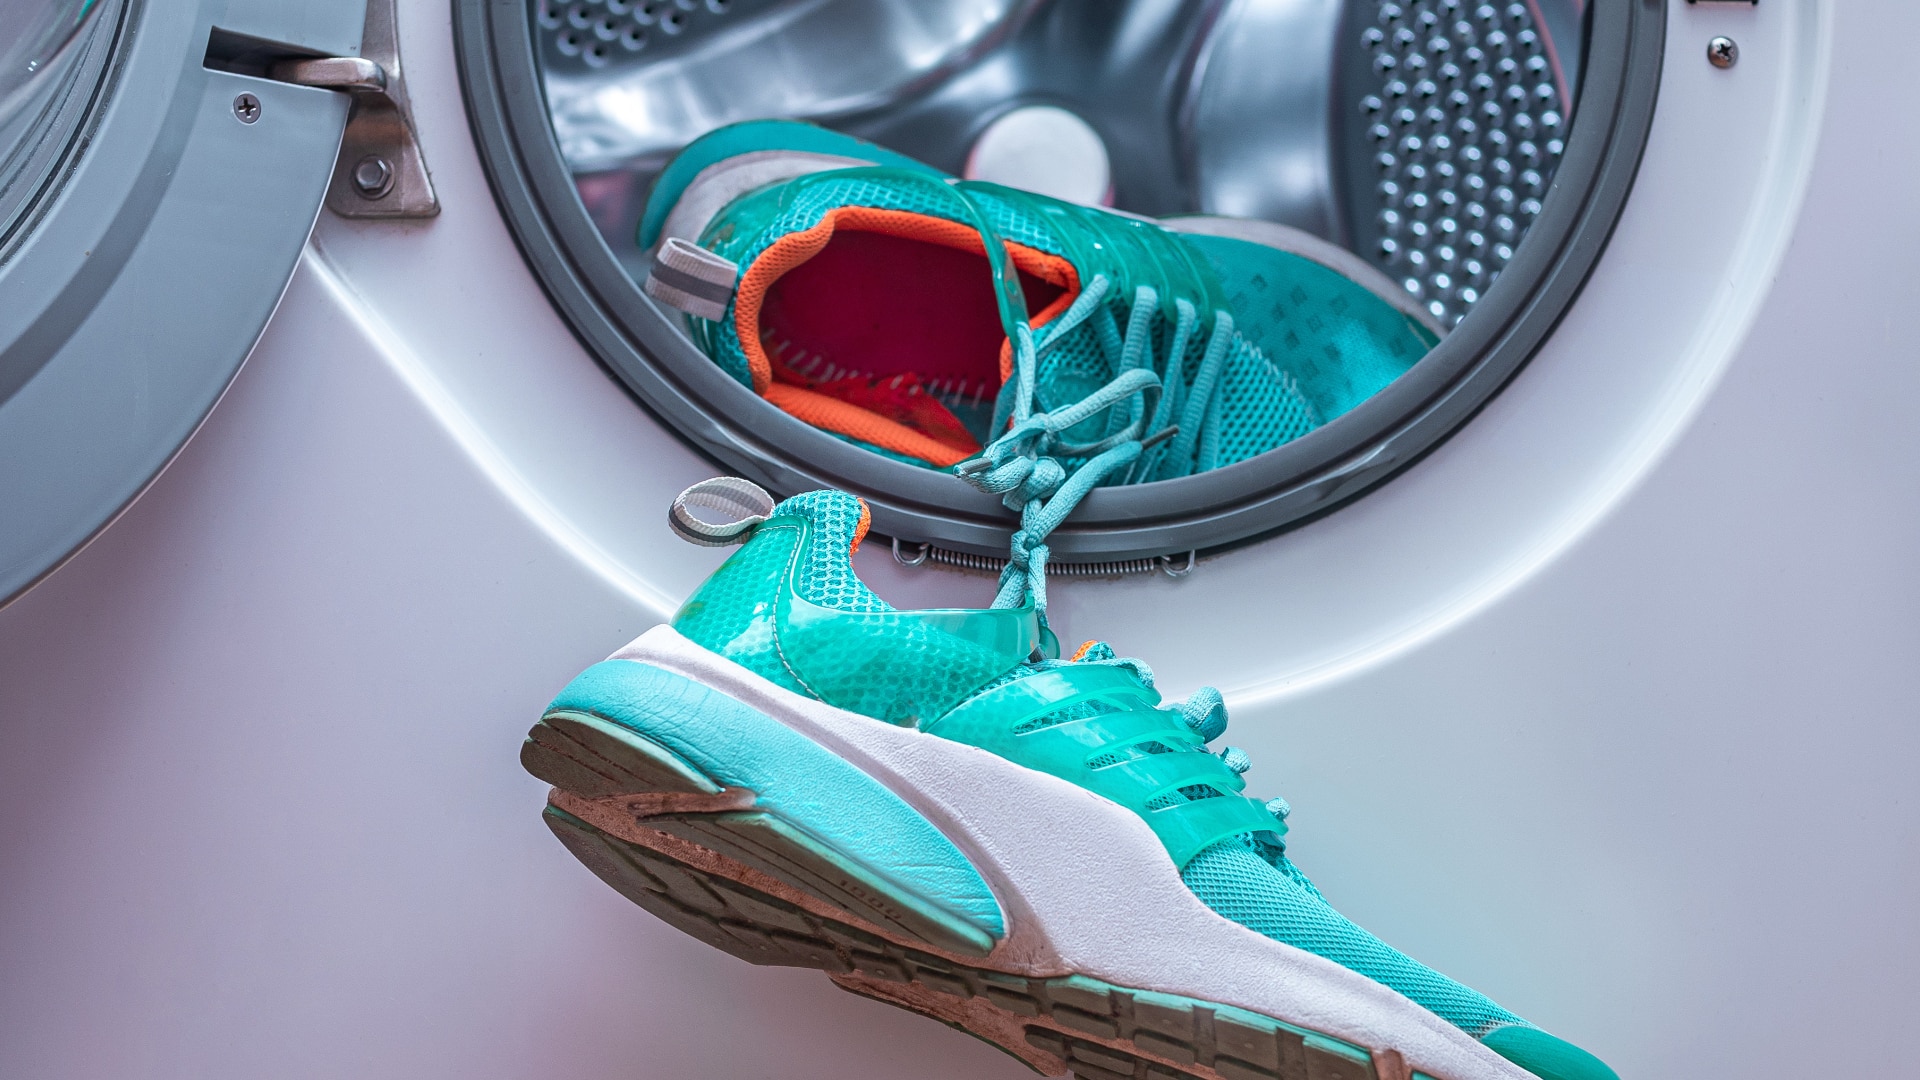
How To Wash Shoes in The Washing Machine
Oct. 03, 2022
How To Clean Refrigerator Coils
Sep. 06, 2022
LG Ice Maker Tray Not Turning? How To Fix It
Aug. 10, 2022
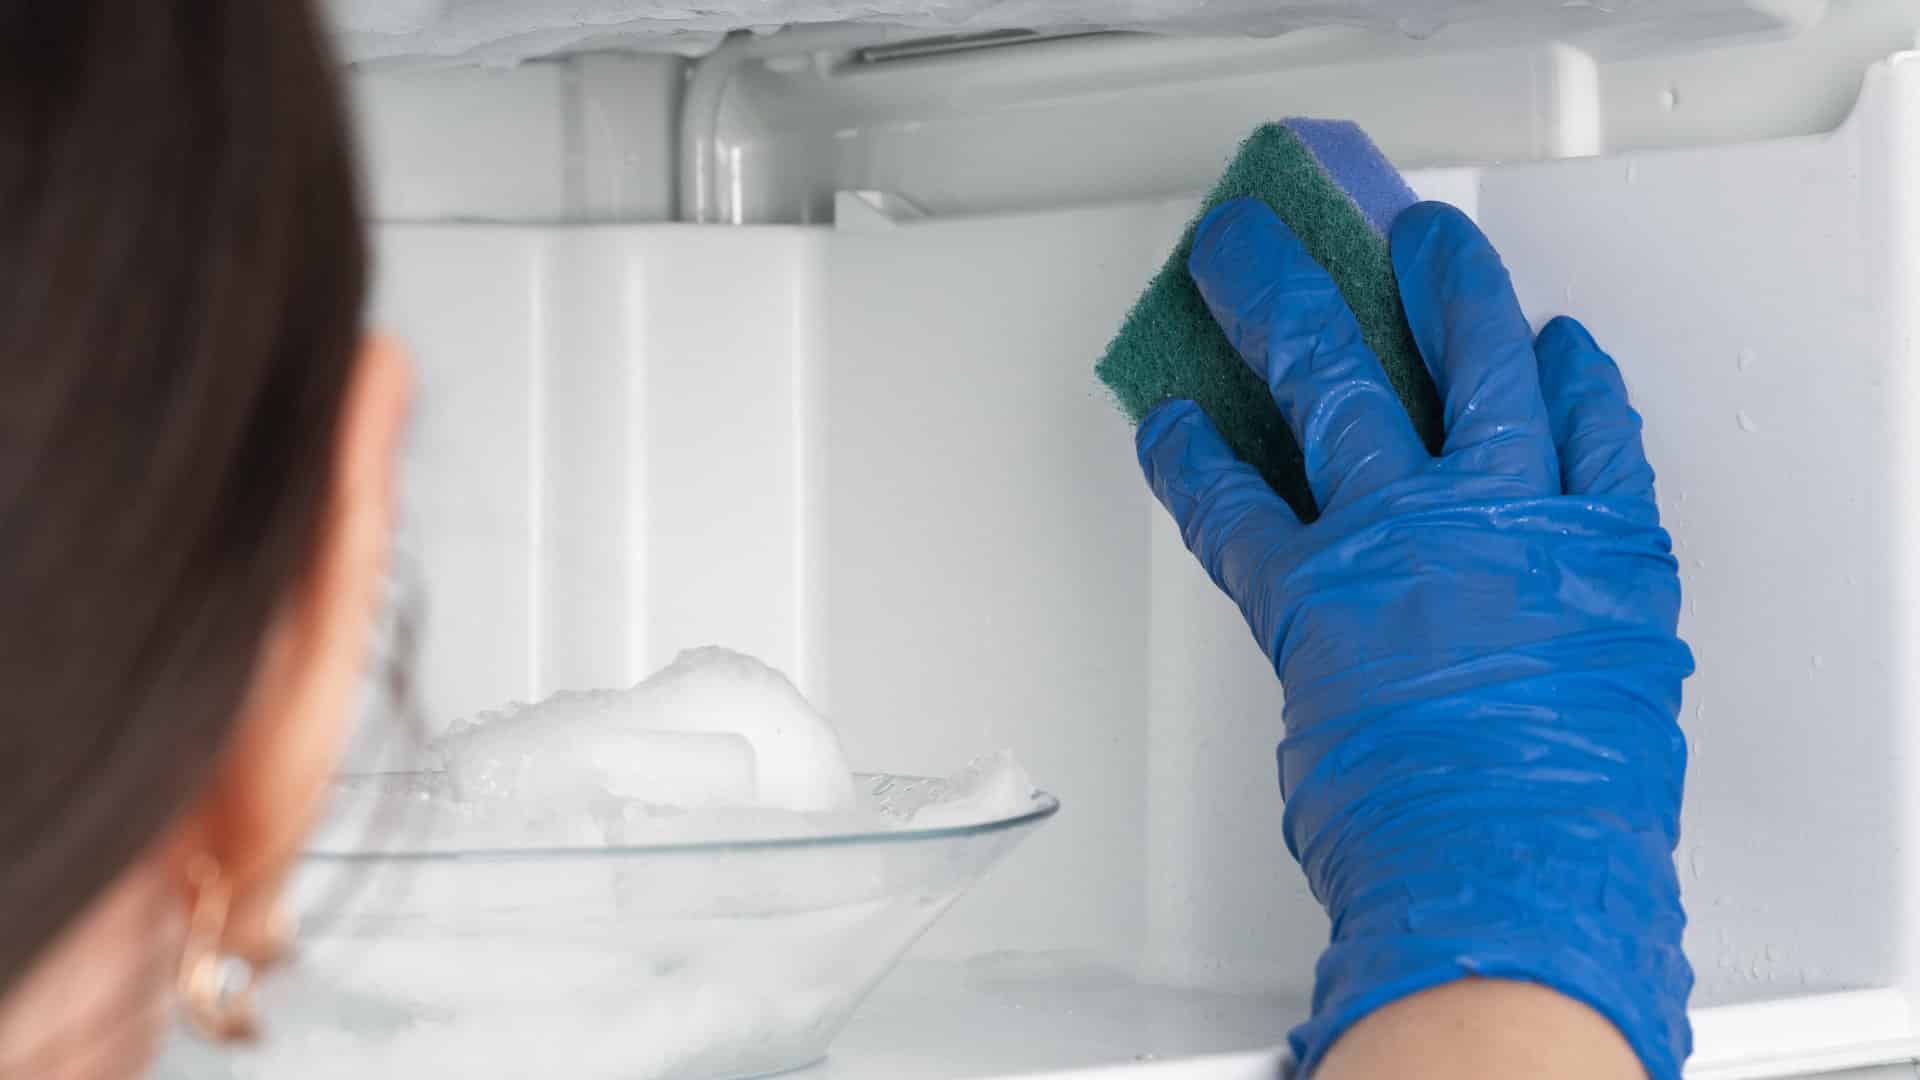
How To Clean a Freezer (in 5 Steps)
Jul. 05, 2022
Samsung Washer Error Code SC: How To Fix It
Jun. 06, 2022
Bosch Dishwasher Error Codes: What Do They Mean?
954 - 399 - 9176Give us a call!