


October 4, 2021
Refrigerator Repair
The humble refrigerator is one of the most used appliances in homes. That’s why it’s very disruptive if it stops working correctly.
One of the most common problems people have with their refrigerators is when they stop cooling correctly. Thankfully, this problem is usually pretty easy to fix.
Simply follow our step-by-step instructions below, and you should be able to find the cause of your refrigerator not cooling and fix it.
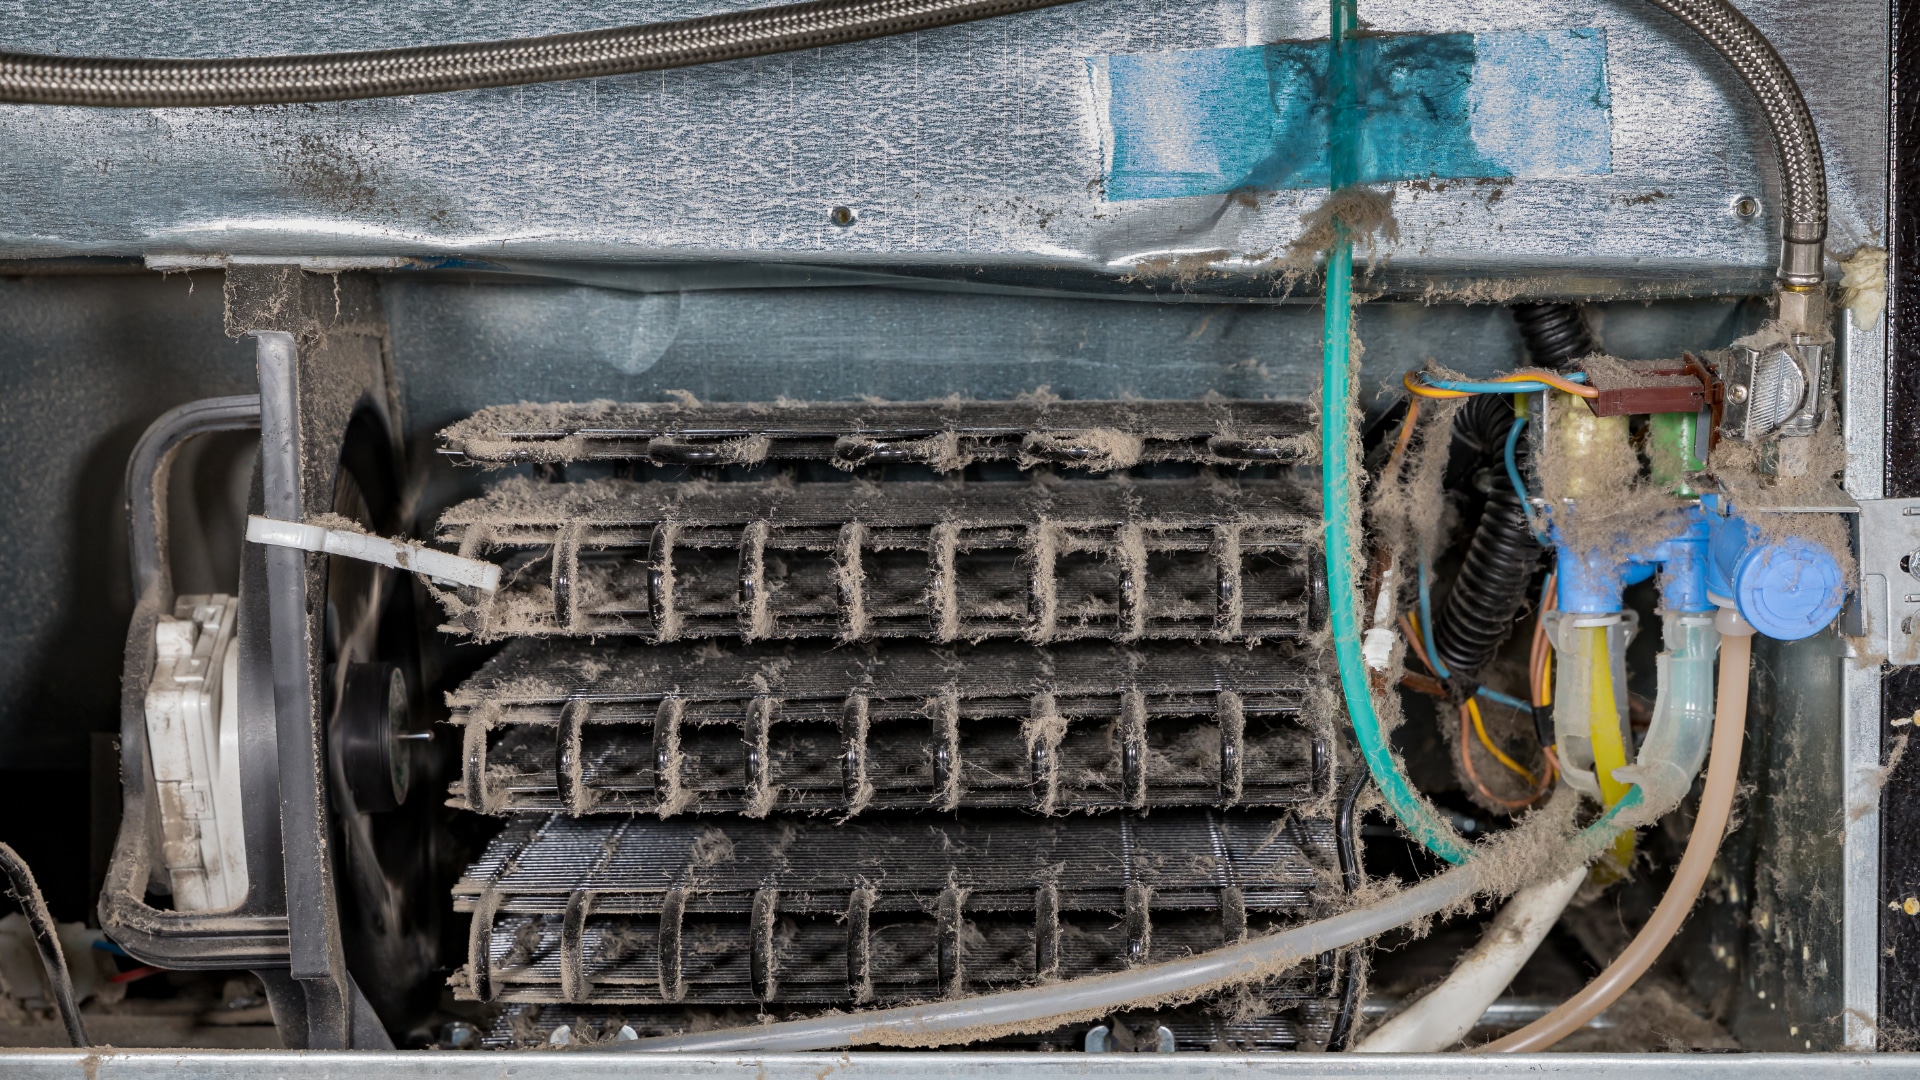
Step 1 – Check the Condenser Coils
The first step for how to fix a refrigerator not cooling is to check the condenser coils. When they get dirty or freeze up, your refrigerator will have to work overtime to keep cool, which means it won’t be able to cool down properly.
Here’s how to check the condenser coils:
- Turn the refrigerator power off.
- To access the coils, you’ll need to pull the refrigerator out from the wall.
- Remove the lower back panel on the refrigerator.
- Locate the condenser coils (consult your manual if necessary).
- Check the coils to see if they are dirty or covered in frost.
- If they are covered in frost, turn your refrigerator off and let them defrost. If they are dirty, give them a good clean (use a vacuum cleaner to remove dust). If they are not dirty or covered in frost, you can move on to the next step.
- Once cleaned or defrosted, turn your refrigerator back on and check if the problem has been solved (you will have to monitor your refrigerator for a few hours to find out). If not, move on to the next step.
Step 2 – Check the Condenser Fan Motor
The condenser fan motor helps to blow air over the condenser coils to keep them cool. When it stops working correctly, your refrigerator won’t be able to cool down.
Here’s how to check the condenser fan motor:
- Turn the refrigerator off if you haven’t already.
- Locate the condenser fan motor (check your manual if required).
- Try to turn the fan around manually (you might need to remove the cover first).
- If the fan doesn’t spin the whole way around, it will need to be replaced.
- If the fan does spin around correctly, then you will have to use a multimeter to check if it has continuity. If there is no continuity, it will need to be replaced.
- If the fan does move around freely and has continuity, it is working correctly, and you can move on to the next step. If you do replace the motor, turn your refrigerator back on and see if the problem has been solved. If not, move on to the next step.
Step 3 – Check the Evaporator Fan Motor
The next step is to check the evaporator fan motor. Depending on the make and model of the refrigerator, it will have one or multiple fans that are powered by a specific motor. If the fans stop working, your refrigerator won’t cool because cold air cannot be circulated from the freezer compartment to the fridge.
Here’s how to check the evaporator fan motor:
- Make sure the power is still turned off.
- Locate the evaporator fan in the freezer compartment.
- Remove the fan cover and attempt to manually turn it around.
- If you can move it around, check that it isn’t making any loud noises when operating.
- If it isn’t making any loud noises, you can then check it with a multimeter to make sure it is working correctly.
- If it passes all these tests, you can move on to the next step.
- If it fails any of these tests, the motor will need to be replaced.
- Once replaced, check to see if the problem has been solved. If not, move on to the next step.
Step 4 – Check the Start Relay
The next step for how to fix a refrigerator not cooling is to check the start relay. This component in your refrigerator works with the start winding to make sure the compressor can operate. If it becomes faulty, your refrigerator might not keep cool.
Here’s how to check the start relay:
- Make sure the power to your refrigerator is switched off.
- Locate the start relay (it’s connected to the compressor in the back panel of the fridge).
- Test the start relay for continuity with a multimeter.
- If the start relay has continuity, it’s working fine, and you can move on to the next step. If it doesn’t have continuity it will need to be replaced.
- Once replaced, test to see if it has solved the problem. If not, move on to the next step.
Step 5 – Check the Temperature Control Thermostat
The purpose of the temperature control thermostat is to direct voltage to the evaporator fan motor, the compressor, and the condenser fan motor. If the thermostat doesn’t accurately measure the temperature or doesn’t work at all, then this can cause your refrigerator to not cool.
To check the temperature control thermostat, you need to:
- Make sure the refrigerator is switched off.
- Locate the thermostat (check your manual if necessary).
- Attempt to turn it manually from its lowest setting to its highest setting. When you turn it, you should be able to hear a “click” sound.
- If you hear the click sound, it is working correctly, and you can move on to the next step. If you cannot hear a click, you will need to test the thermostat with a multimeter for continuity.
- If the thermostat has no continuity, it will need to be replaced. If it does have continuity, it’s most likely working fine, so you can move on to the next step.
- Once replaced, check to see if the problem has been solved. If not, move on to the next step.
Step 6 – Check the Start Capacitor
The next step is to check the start capacitor. The purpose of the start capacitor is to help power the compressor when it starts up. If it doesn’t work correctly, your refrigerator won’t cool.
Here’s how to check the start capacitor:
- Make sure the power is switched off.
- Locate the start capacitor (check your manual if required).
- Once located, test the start capacitor with a multimeter for continuity.
- If it fails the continuity test, replace it. If it does have continuity, it’s working fine, and you can move on to the next step.
- Once replaced, turn your refrigerator back on, and check if the problem has been solved. If not, move on to the next step.
Step 7 – Check the Thermistor
The purpose of the thermistor is to monitor your refrigerator temperature and then “report” this to the control board so the control board knows when to turn on other components that help to keep your fridge cool. If it stops working, you will end up with a refrigerator that doesn’t stay cool.
To check the thermistor, you need to:
- Make sure the refrigerator is switched off.
- Locate the thermistor (check your manual if necessary).
- Use a multimeter to check if the thermistor changes resistance when the refrigerator changes temperature.
- If it fails this test, the thermistor will need to be replaced, and if it passes the test, it is working fine, and you can move on to the next step.
- Once replaced, check to see if the refrigerator is now working correctly. If not, move on to the next step.
Step 8 – Check the Compressor
The compressor in your refrigerator is a pump that compresses the refrigerant and then circulates it through the evaporator and condenser coils so that your refrigerator stays cold. If it becomes faulty, your refrigerator will not stay cold or cool down at all.
Here’s how to check the compressor:
- Make sure the refrigerator is switched off.
- Locate the compressor (check your manual if necessary).
- Once located, you need to use the multimeter to test the continuity between the electrical pins on the side of the compressor. If this test shows an open circuit, the compressor is defective and should be replaced. Replacing the compressor is very difficult and shouldn’t be attempted unless you know what you’re doing. If the compressor passes the multimeter test, you can move on to the next step.
- If you do replace the compressor, turn your refrigerator back on when the compressor is replaced and check if the problem has been solved. If not, move on to the final step.
Step 9 – Replace the Main Control Board
If you’ve tried all the other steps, your last option is to replace the main control board. The main control board rarely becomes defective, but it can happen. The problem is it’s difficult to test, so your best option is to replace it and check if this solves the problem. However, it is expensive and difficult to replace, so you might be better off purchasing a new refrigerator instead.
Jul. 31, 2023
How to Fix a Microwave Door That Is Loose or Broken

Jul. 19, 2023
How to Clean a Smelly Refrigerator Quickly
Jun. 13, 2023
Troubleshooting LG Dishwasher OE Error Code: Causes and Solutions
May. 08, 2023
How to Fix an Amana Dishwasher Not Drying
Apr. 10, 2023
How to Dry Bedsheets in the Dryer
Mar. 14, 2023
Dryer Won’t Start? Common Reasons And Solutions
Feb. 01, 2023
5 Dangers of Self-Cleaning Ovens
Jan. 10, 2023
How to Replace a Washing Machine Faucet
Dec. 08, 2022
LG Washer Error Code UE Explained
Nov. 03, 2022
How To Wash Shoes in The Washing Machine
Oct. 03, 2022
How To Clean Refrigerator Coils
Sep. 06, 2022
LG Ice Maker Tray Not Turning? How To Fix It
Aug. 10, 2022
How To Clean a Freezer (in 5 Steps)
Jul. 05, 2022
Samsung Washer Error Code SC: How To Fix It
Jun. 06, 2022
Bosch Dishwasher Error Codes: What Do They Mean?
954 - 399 - 9176Give us a call!