

December 6, 2021
Dryer Repair
If you’ve put a load of laundry into your dryer and turned it on, but then a few minutes later it stops working, you’re in the right place.
There are 4 main reasons why this happens. In this article, we will discuss each of them and what you can do to fix the problem from happening.
Simply start with reason 1 and work your way down the article from there.
Reason 1 – Overheating dryer motor
The first and main, reason a dryer shuts off after a few minutes is an overheating dryer motor. When this occurs, you might need to replace it – especially if you can hear a loud, buzzing noise emanating from the motor.
Here’s how to check if the motor is overheating and needs to be replaced:
- Start by turning the dryer on to a cycle. When it turns off, wait a few minutes, and check if the dryer starts back up again. If it does, this means the motor is overheating. If it doesn’t start up again, move on to reason number 2.
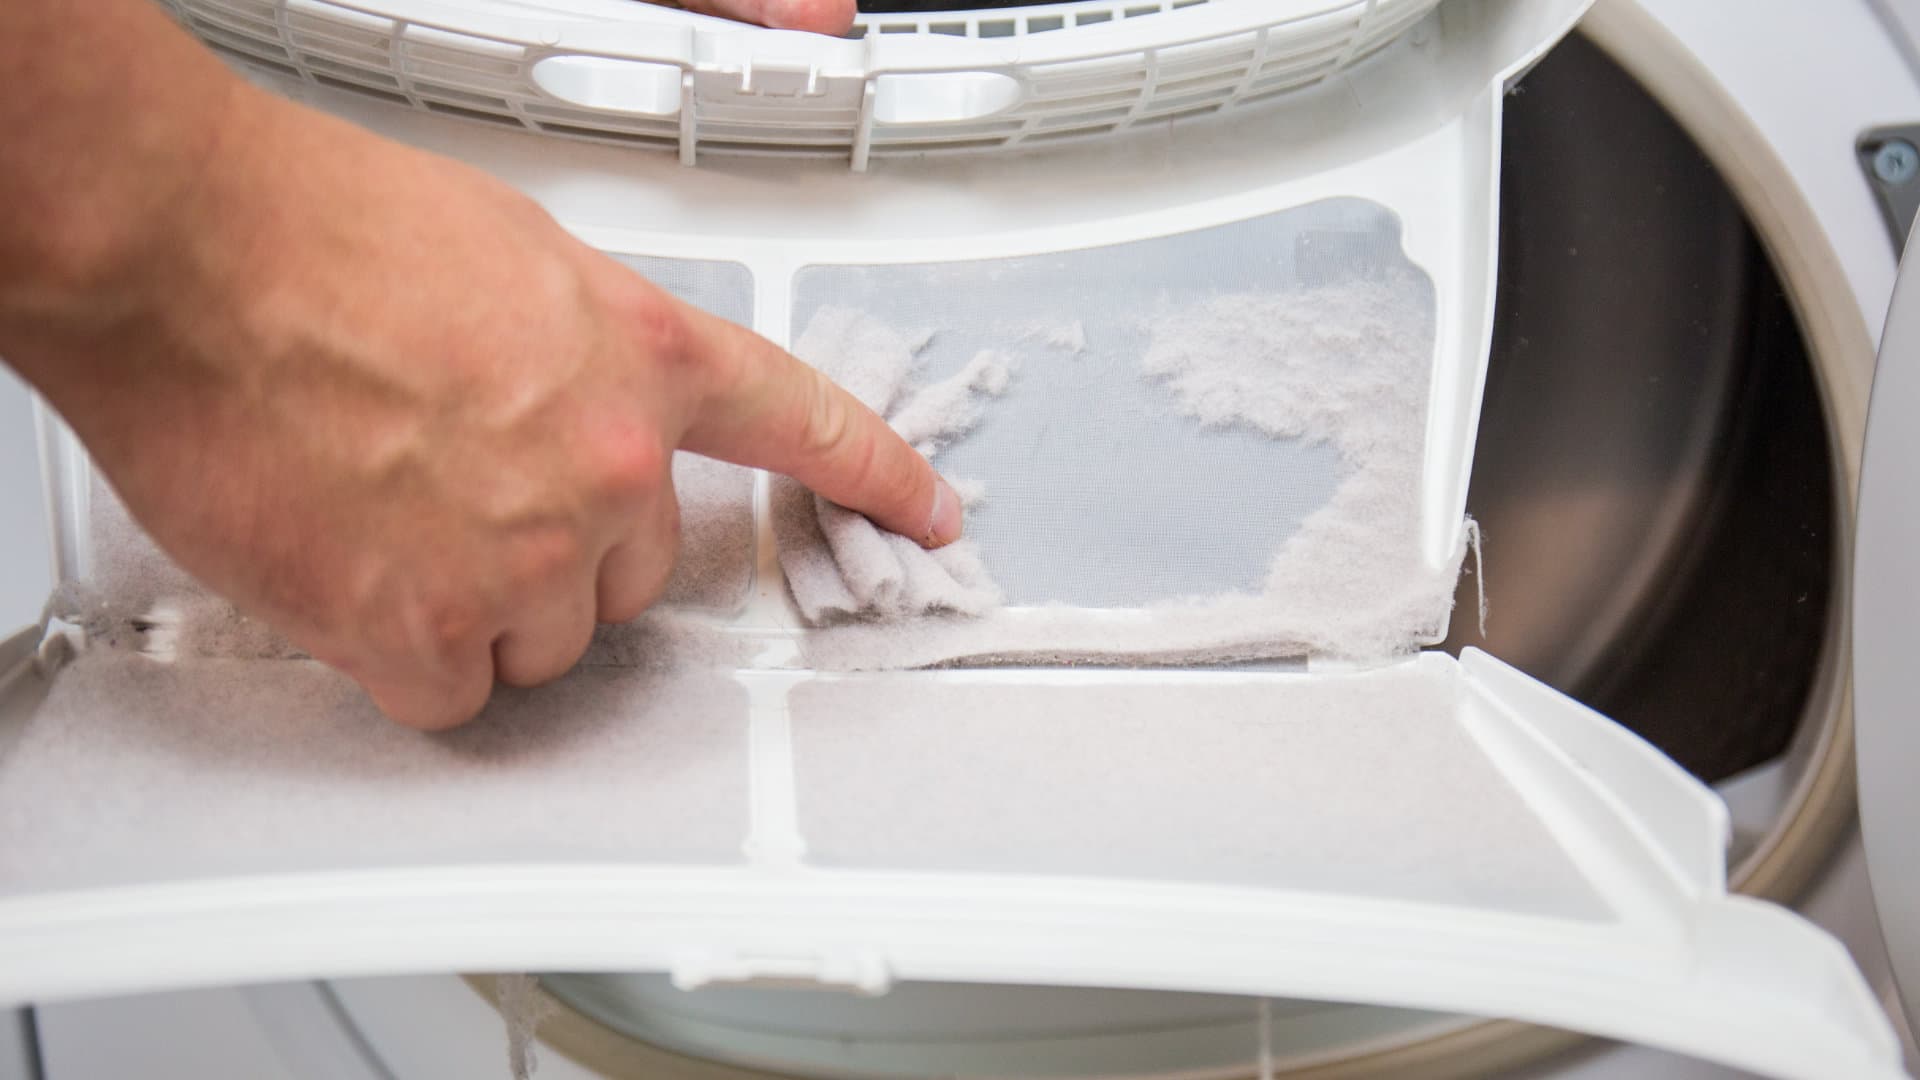
- Before replacing the motor, check that the cause of the motor overheating isn’t a full lint trap or the dryer being overfilled with too many clothes. If those two things aren’t the cause, then you will need to replace the motor.
- To replace the motor, you need to start by turning the power off to the dryer.
- Remove the lower access panel on your dryer, and set it aside.
- Locate the lint filter and remove it from the dryer. You should now be able to see a couple of screws underneath where the lint filter was. Once located, remove the 2 screws.
- Remove the top panel from the dryer (you’ll need to remove the screws that secure it in place). Before you can fully take the panel off, you’ll need to disconnect the door switch wire harnesses.
- Locate the drive belt, remove it from the idler pulley, and then take the idler pulley off from its mounting bracket.
- Lift the dryer drum out of the dryer cabinet, and set it aside out of the way.
- Locate the motor and remove the wires that are attached to it, followed by loosening the blower wheel.
- You should now be able to remove the old motor and attach the new motor in the same place the old one was located.
- Reattach the wires to the motor, tighten the blower wheel, and then put the dryer drum back in place and put your dryer back together again.
- Once your dryer is back together again, turn it on and check if the problem has been solved. If not, move on to reason number 2.
Reason 2 – Faulty drive belt
If the dryer motor isn’t the cause of the problem, the next likely reason for your dryer turning off is a faulty drive belt. The drive belt goes around the drum in the dryer and the pulleys and helps it to rotate around. If it’s faulty or broken, the dryer will not be able to operate correctly.
The drive belt is easy to check; you simply need to:
- Unplug your dryer from the power socket.
- Remove the lower access panel on your dryer and set it aside.
- Locate the lint filter and remove it from the dryer. You should be able to now see a couple of screws underneath where the lint filter was. Once located, remove the 2 screws.
- Remove the top panel from the dryer (you’ll need to remove the screws that secure it in place). Before you can fully take the panel off, you’ll need to disconnect the door switch wire harnesses.
- Once the panels are removed, you should be able to access the drive belt.
- Once you’ve located the drive belt, give it a good check for any signs of damage or if it has snapped. If so, it will need to be replaced. If it’s fine, move on to reason 3.
- To replace the drive belt, remove the old one from the dryer. To remove the belt, you will need to disconnect it from the pulleys and release the bearing by pulling the belt up. Finally, remove the front guide so you can pull the drum out of the dryer enough to be able to remove the belt.
- Once the old belt is removed, place the new belt around the drum (the groove side of the belt should be against the drum). Make sure the belt is in the center of the drum.
- Attach the drum around the pulleys correctly. You can then adjust the idler pulley to ensure the belt is on tight (but not too tight).
- You can now put the dryer back together again (the same way you took it apart) and check if the problem has been solved. If not, move on to reason number 3.
Reason 3 – Faulty door latch
The door latch ensures your dryer door is firmly closed when operating. If it becomes defective due to too much use, it needs to be replaced. To check the door latch, you simply need to close your dryer door and check if the door is firmly closed. If not, the door latch will need to be replaced. If the door latch is working correctly, you can move straight on to reason number 4 below.
To replace the door latch:
- Unplug the dryer from the power socket, or turn the circuit breaker off.
- Once the power is off, remove the door hinges – you’ll need to remove the screws that hold them in place.
- Take the door off and then take it apart so you can remove the door latch.
- Once the door latch is removed, place the new door latch in the right position and put the door back together again.
- Put the door back onto the dryer, and screw the hinge screws back in.
- Turn the power on and check if the dryer now works without stopping after a few minutes. If not, move on to the final reason.
Reason 4 – Faulty moisture sensor
Reason number 4 is a faulty moisture sensor. The point of the sensor is to monitor how much moisture is in the dryer. If the level of moisture gets too high, it tells the control board to turn the dryer off.
Here’s how to check the moisture sensor to see if it’s faulty:
- Unplug the dryer from the power socket, or turn the circuit breaker off.
- Locate the screws that hold the top panel in place, and then unscrew them.
- Pull the top panel out slightly, and then disconnect the wire harnesses that are connected to the control panel.
- Remove the panel and then unscrew the control panel and take it off.
- Locate the screws that hold the lint screen housing onto the front panel of the dryer door. Once located, unscrew them, and then close the dryer door.
- Locate the locking tab on the front panel and pull it out; unscrew the screws that hold the front panel in place, and disconnect the wire harnesses that are connected to the door. You should now be able to remove the front panel.
- Once the front panel is removed, locate the moisture sensor and disconnect the wires connected to it.
- Remove the mounting plate, the lint screen, and the grill. You should now be able to take the old moisture sensor out and attach the new one.
- Once the new moisture sensor is in place, put your dryer back together again – the same way you took it apart.
- Turn your dryer on and check if the problem has been solved. If not, you will need to call a qualified technician to come and inspect your dryer.
Jul. 31, 2023
How to Fix a Microwave Door That Is Loose or Broken
Jul. 19, 2023
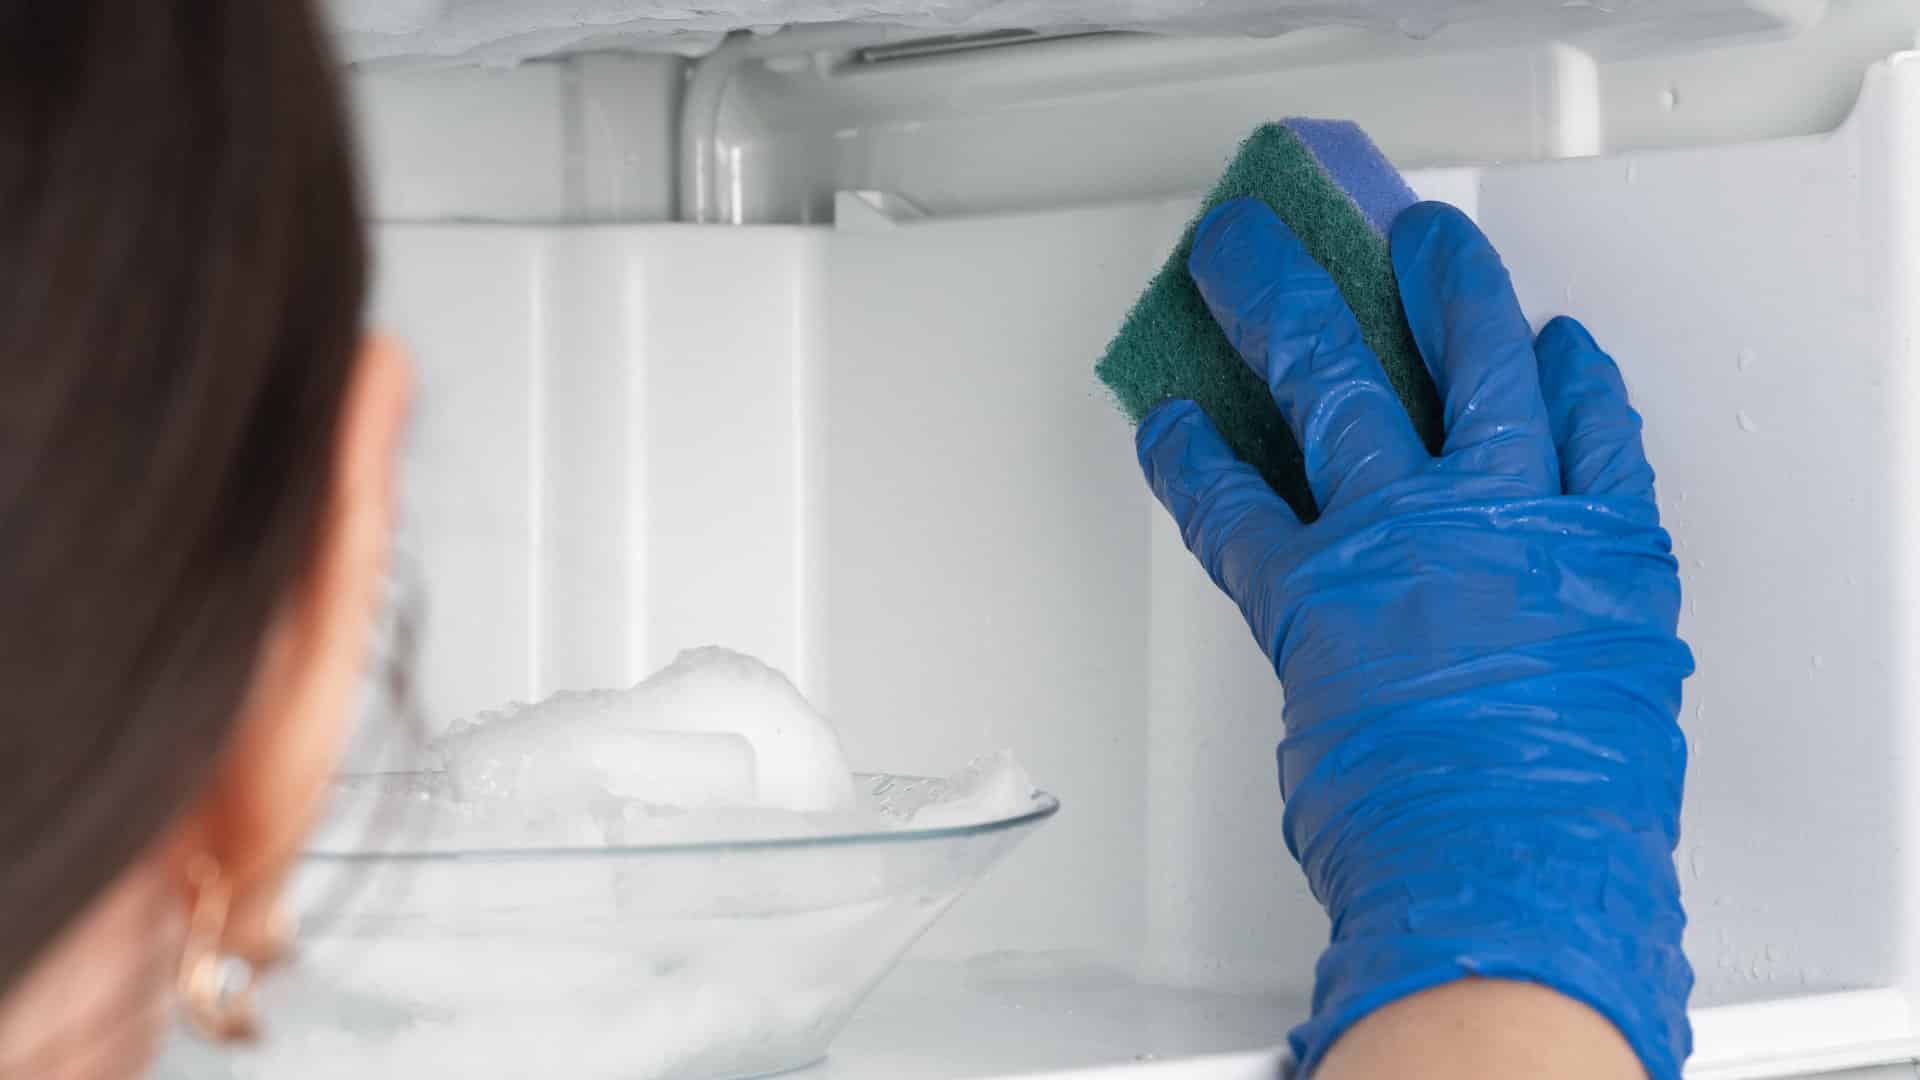
How to Clean a Smelly Refrigerator Quickly
Jun. 13, 2023
Troubleshooting LG Dishwasher OE Error Code: Causes and Solutions
May. 08, 2023
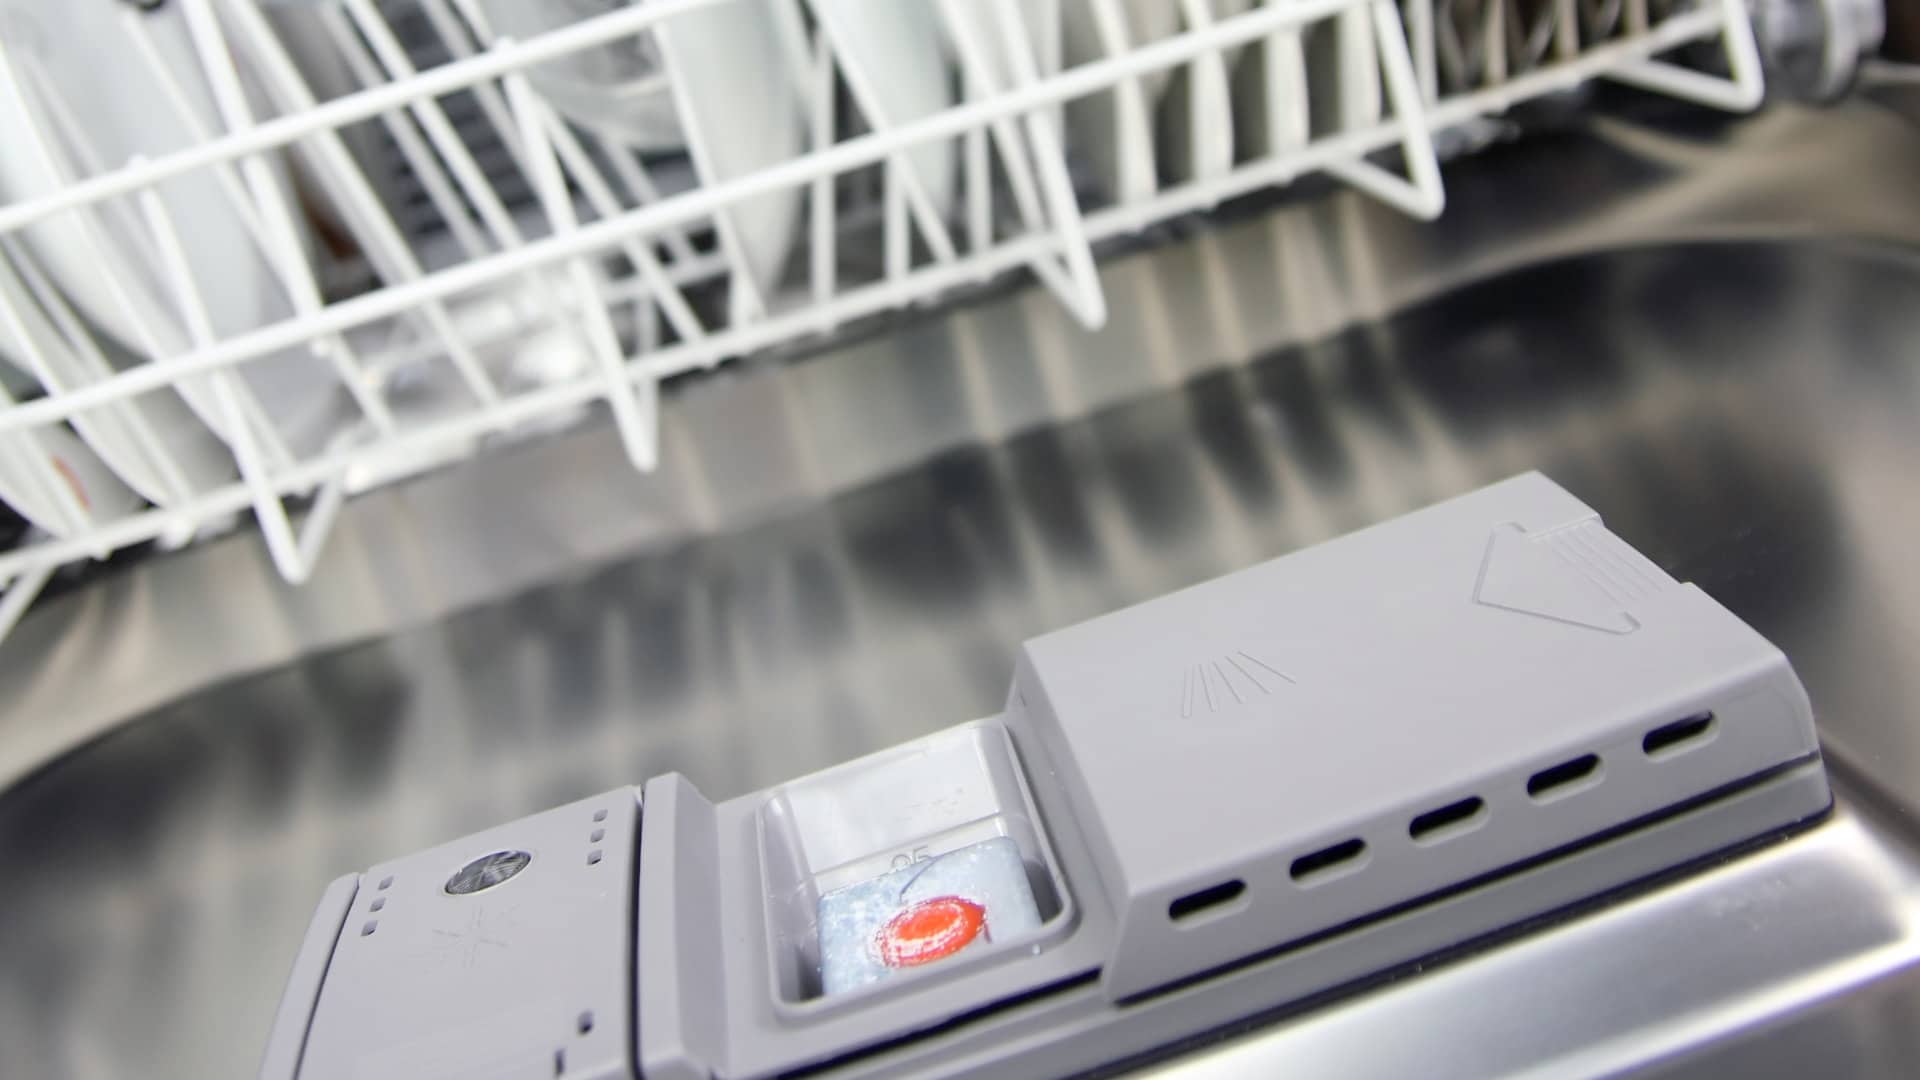
How to Fix an Amana Dishwasher Not Drying
Apr. 10, 2023
How to Dry Bedsheets in the Dryer
Mar. 14, 2023
Dryer Won’t Start? Common Reasons And Solutions
Feb. 01, 2023
5 Dangers of Self-Cleaning Ovens
Jan. 10, 2023
How to Replace a Washing Machine Faucet
Dec. 08, 2022
LG Washer Error Code UE Explained
Nov. 03, 2022
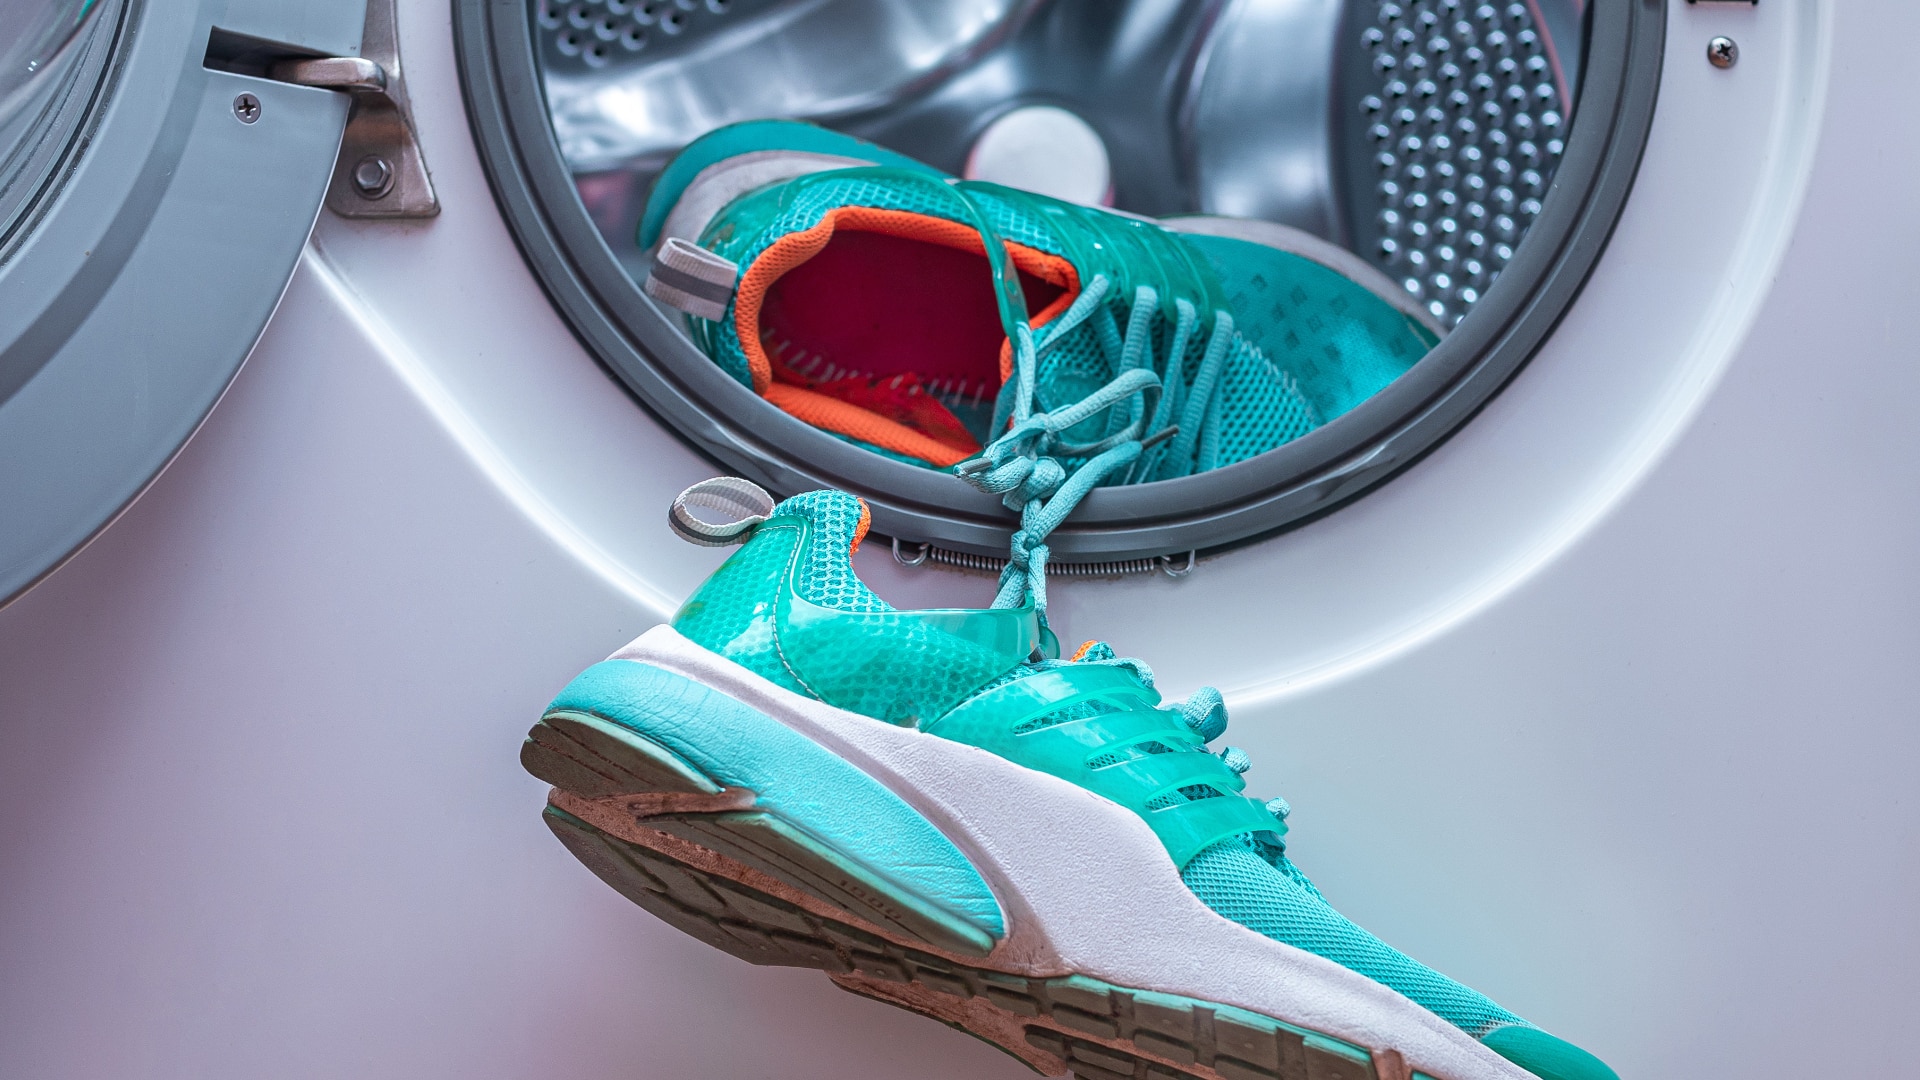
How To Wash Shoes in The Washing Machine
Oct. 03, 2022
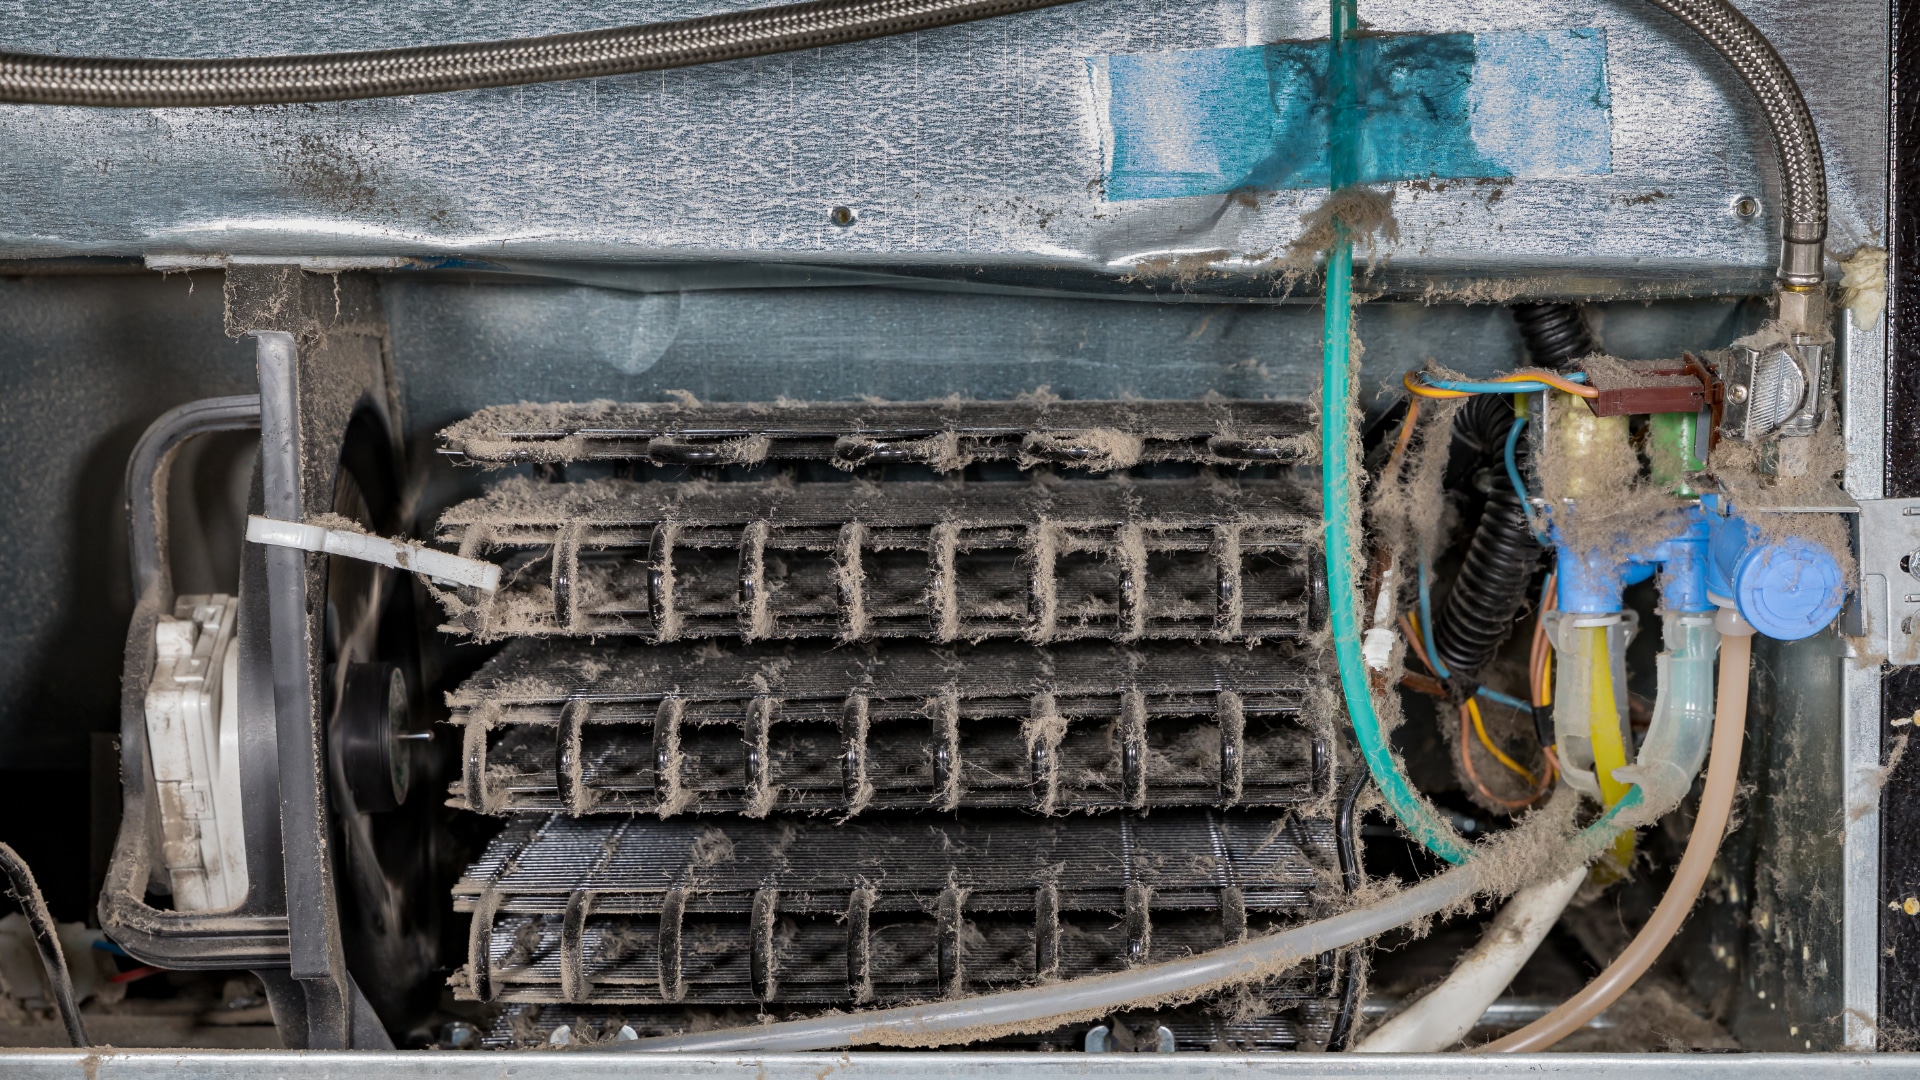
How To Clean Refrigerator Coils
Sep. 06, 2022
LG Ice Maker Tray Not Turning? How To Fix It
Aug. 10, 2022
How To Clean a Freezer (in 5 Steps)
Jul. 05, 2022
Samsung Washer Error Code SC: How To Fix It
Jun. 06, 2022
Bosch Dishwasher Error Codes: What Do They Mean?
954 - 399 - 9176Give us a call!